In this post, I will delve into the advantages of leveraging Sitecore Connect with CDP. I’ll guide you through a practical example, comparing our previous approach without Sitecore Connect, and then demonstrate how Sitecore Connect streamlines our processes effectively.
Use Case
An airline company planning to launch a campaign offering discounts to travelers heading to specific destinations.
Below are the necessary steps we need to take to accomplish this task:
- Extract the visitors from CDP who are matching our condition e.g. visitors who’s traveling to certain destination.
- Write logic to manipulate the extracted visitors based on the client’s requirements if needed.
- Upload the extracted list to any cloud system, for this post I will use my google drive.
Note: This example will show you how we can use Sitecore Connect, to retrieve the guests from CDP and upload it to third party system (Google Drive), without writing any code. manipulating guest's data, sending emails will not be part of this post.
Without Sitecore Connect (Previous Approach)
Here are the steps that we used to do in order to achieve this:
- Create Batch segments: This enables you to query and build custom segments using any guest, session, event, or order attributes that your organization passes to Sitecore CDP.
- Create Audience sync export: After building a segment, you can export audience data, this helps us to activate the exported guests outside CDP, from there I can upload them to google drive. Sitecore documentation outlines all the basic steps that are required to setup an audience sync, there are multiple service credentials that can be used, this article is based on the file upload option, we are using VM to download the extracted audience sync.
- Write Custom code: The audience data will be exported to S3 storage. We’ll write code to fetch the batch segment from S3 storage and perform necessary manipulations on the extracted audiences. Afterward, we’ll upload the processed data to Google Drive using the Google Drive API..
The challenge here is with the last step, so every time the customer has new requirement for new audiences, we have to update the configurations and in some cases code changes is required in order to include the new audiences.
Audience Sync with Sitecore Connect
Last year Sitecore introduced Sitecore Connect, which is powerful IPaaS solution, Low-code / No-code integration platform built on Workato, where you can create automated integration workflows between Sitecore products and other applications in your technology stack to provide your users with end-to-end experiences, there are almost 1000+ build-in connectors that you can use to perform the required integration.
For our use case, I will use Sitecore Connect to solve the issue of writing a custom code on VM that we mentioned previously, so basically we will remove that layer from the integration and use Sitecore Connect instead.
Here are the steps:
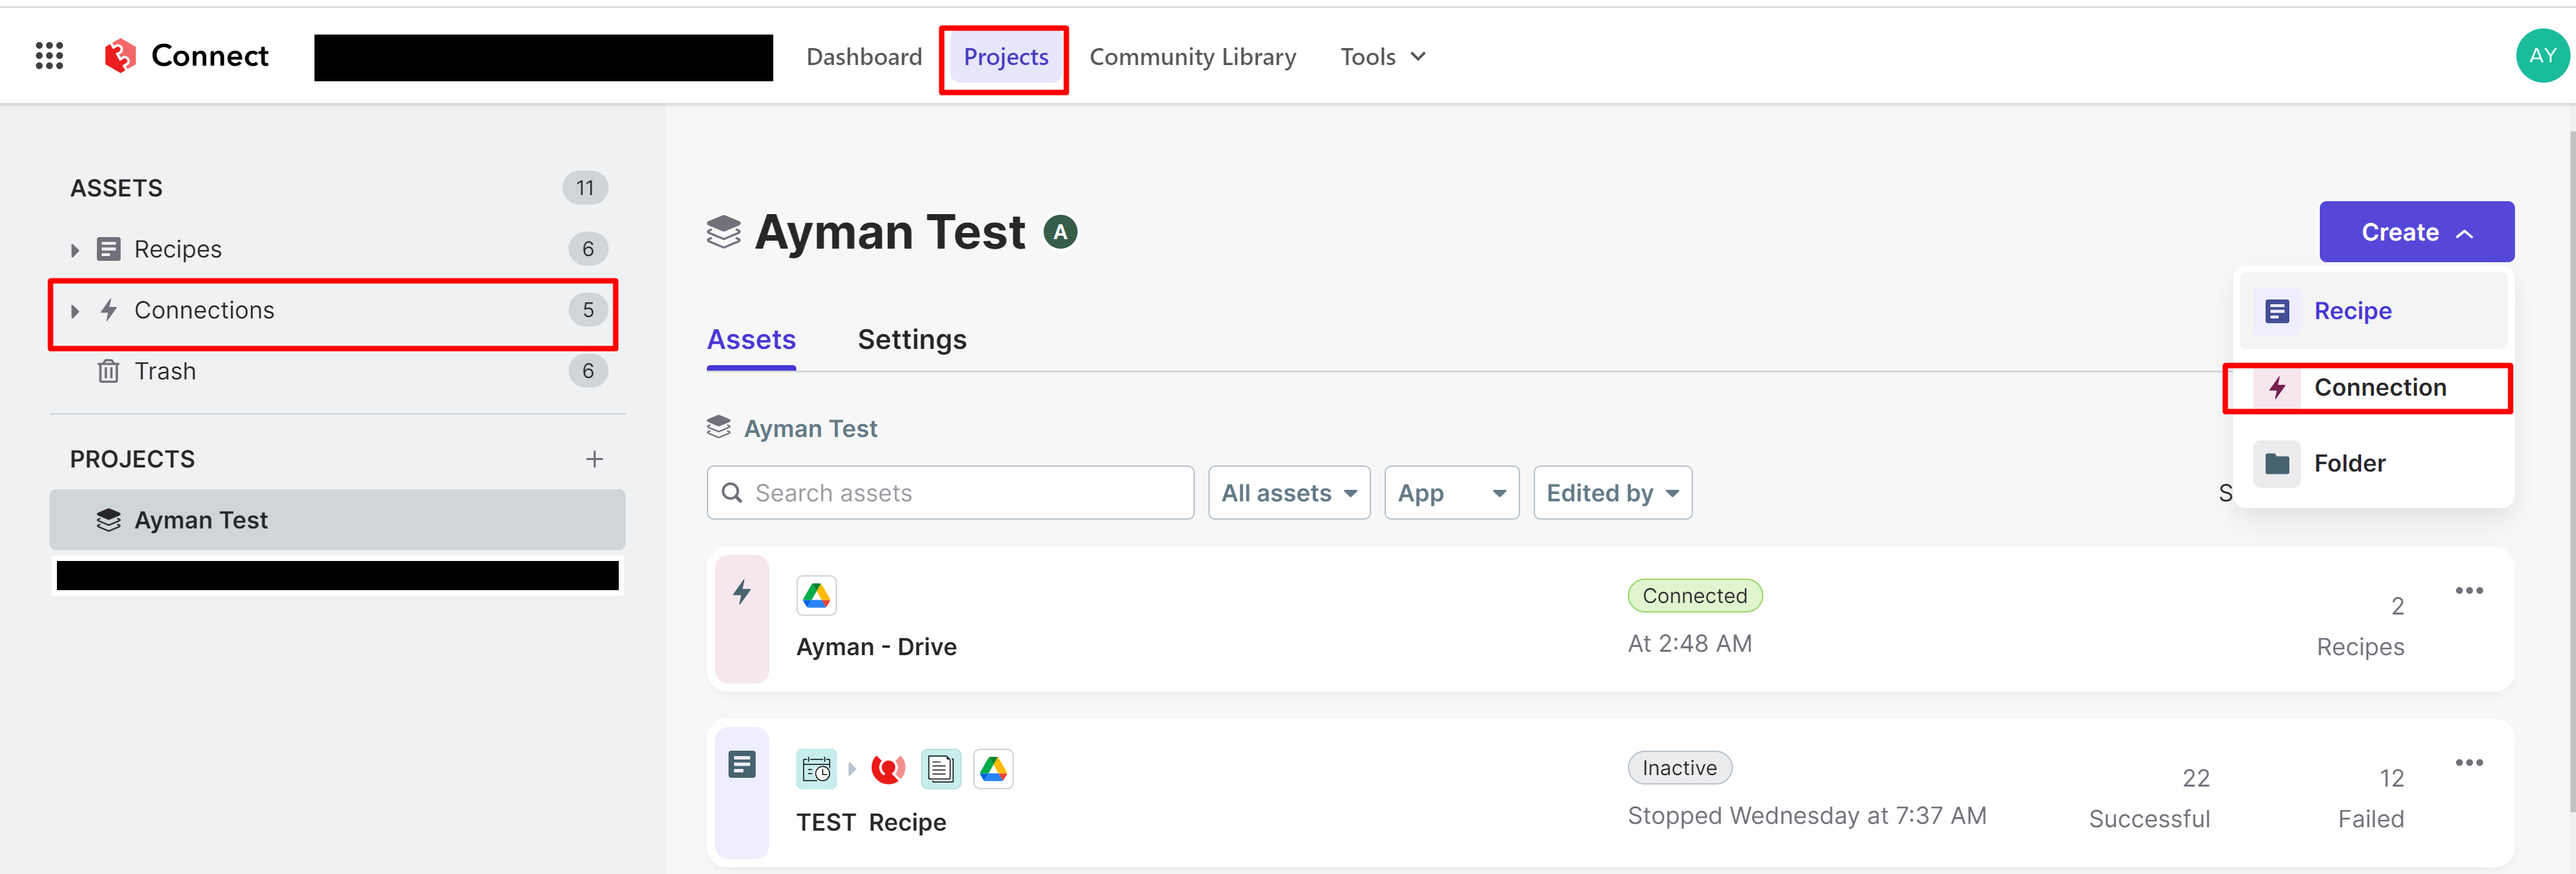
1) Create Connections:
A) Sitecore CDP Connection : To get latest audience sync file.
- Create new Connection and choose CDP
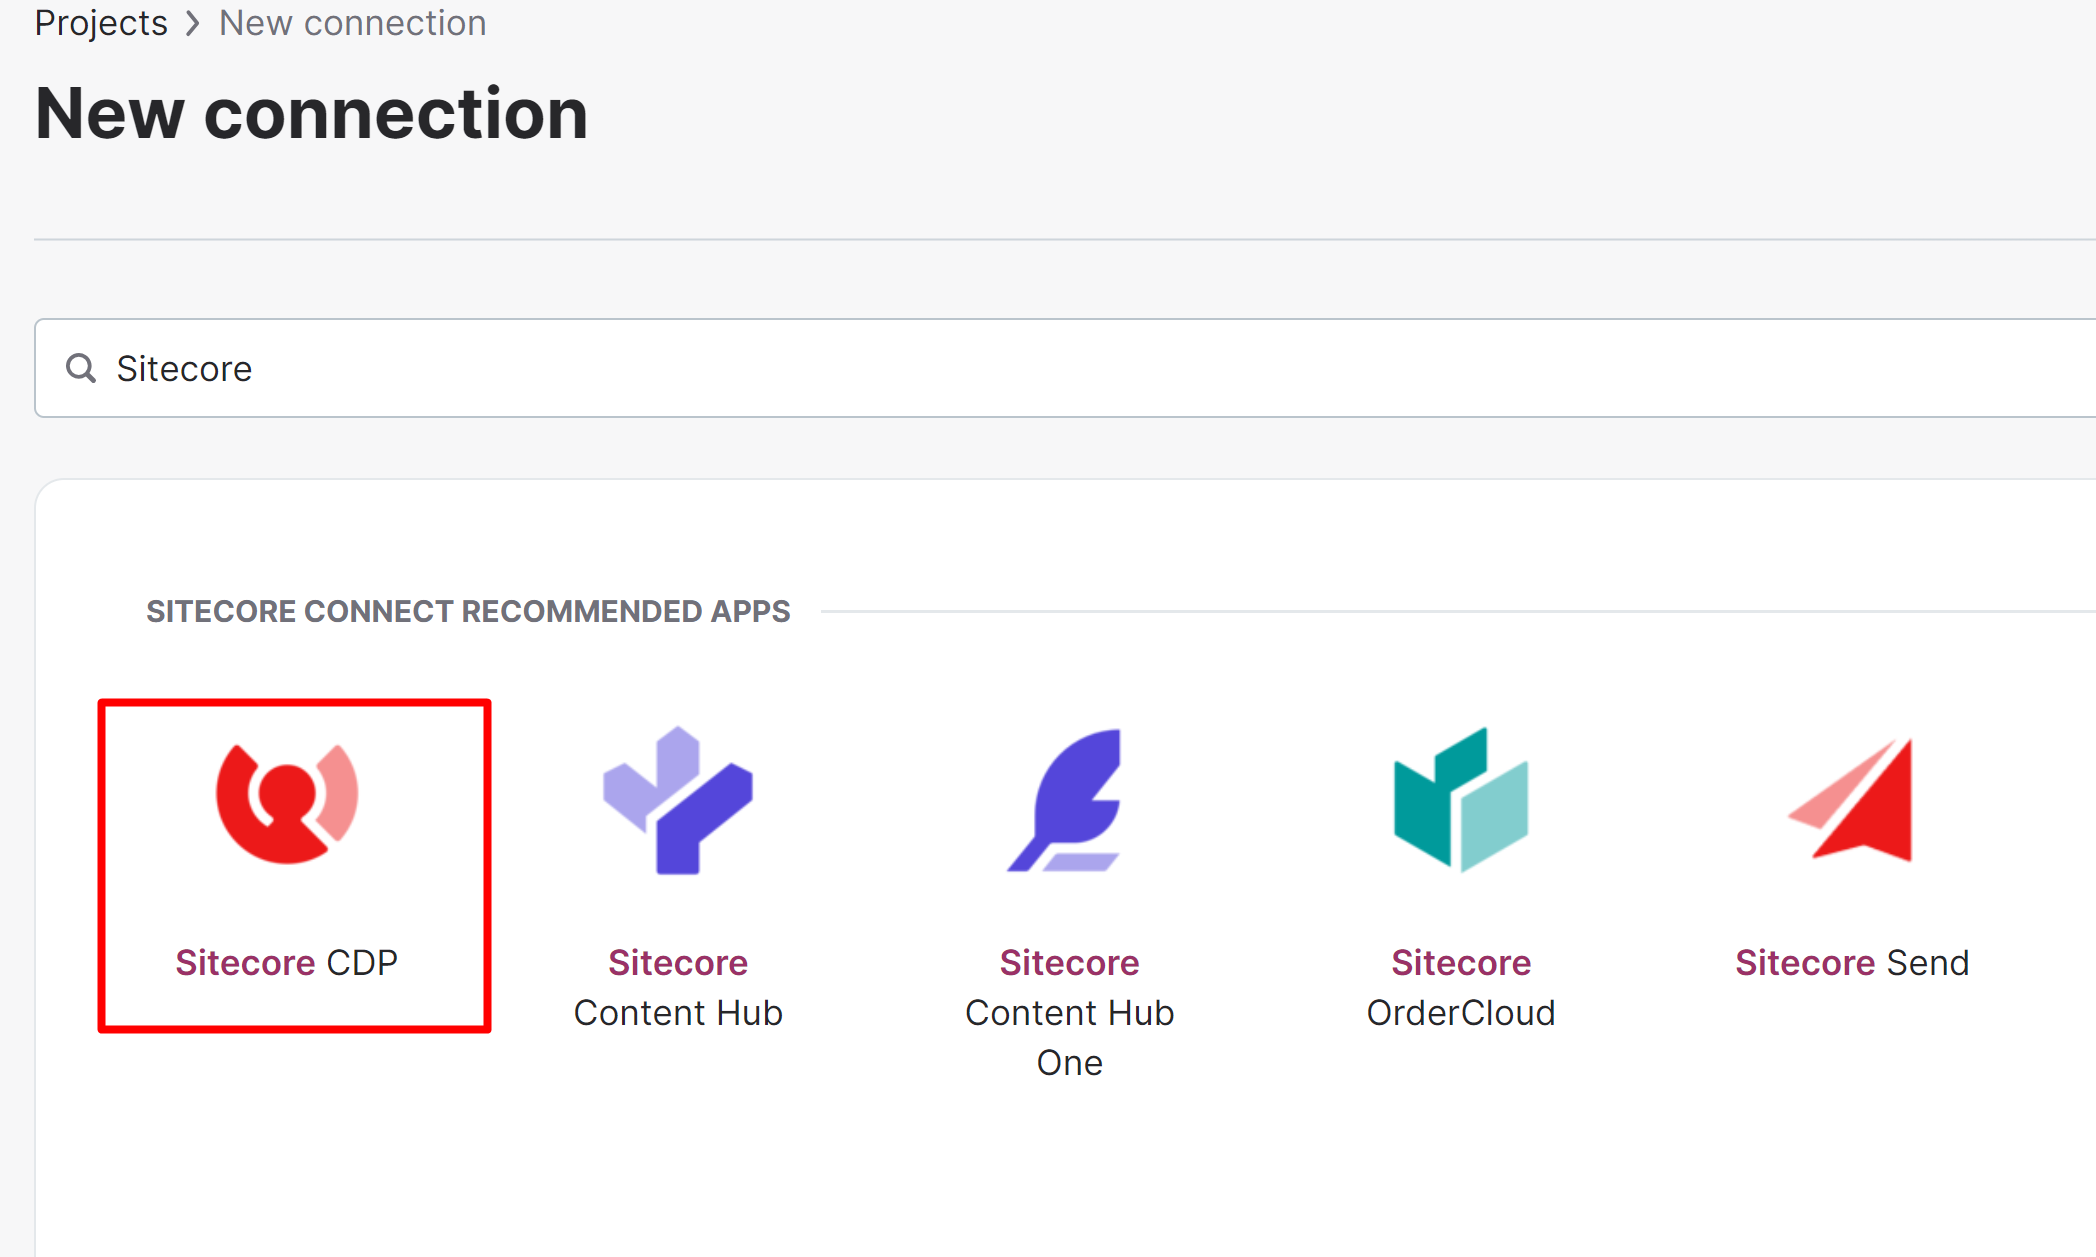
- Choose Sitecore CDP.
- Fill out the form to provide all the information such as API key, Secret ..etc., there is helper link for each field that provides guideline how to get those keys.
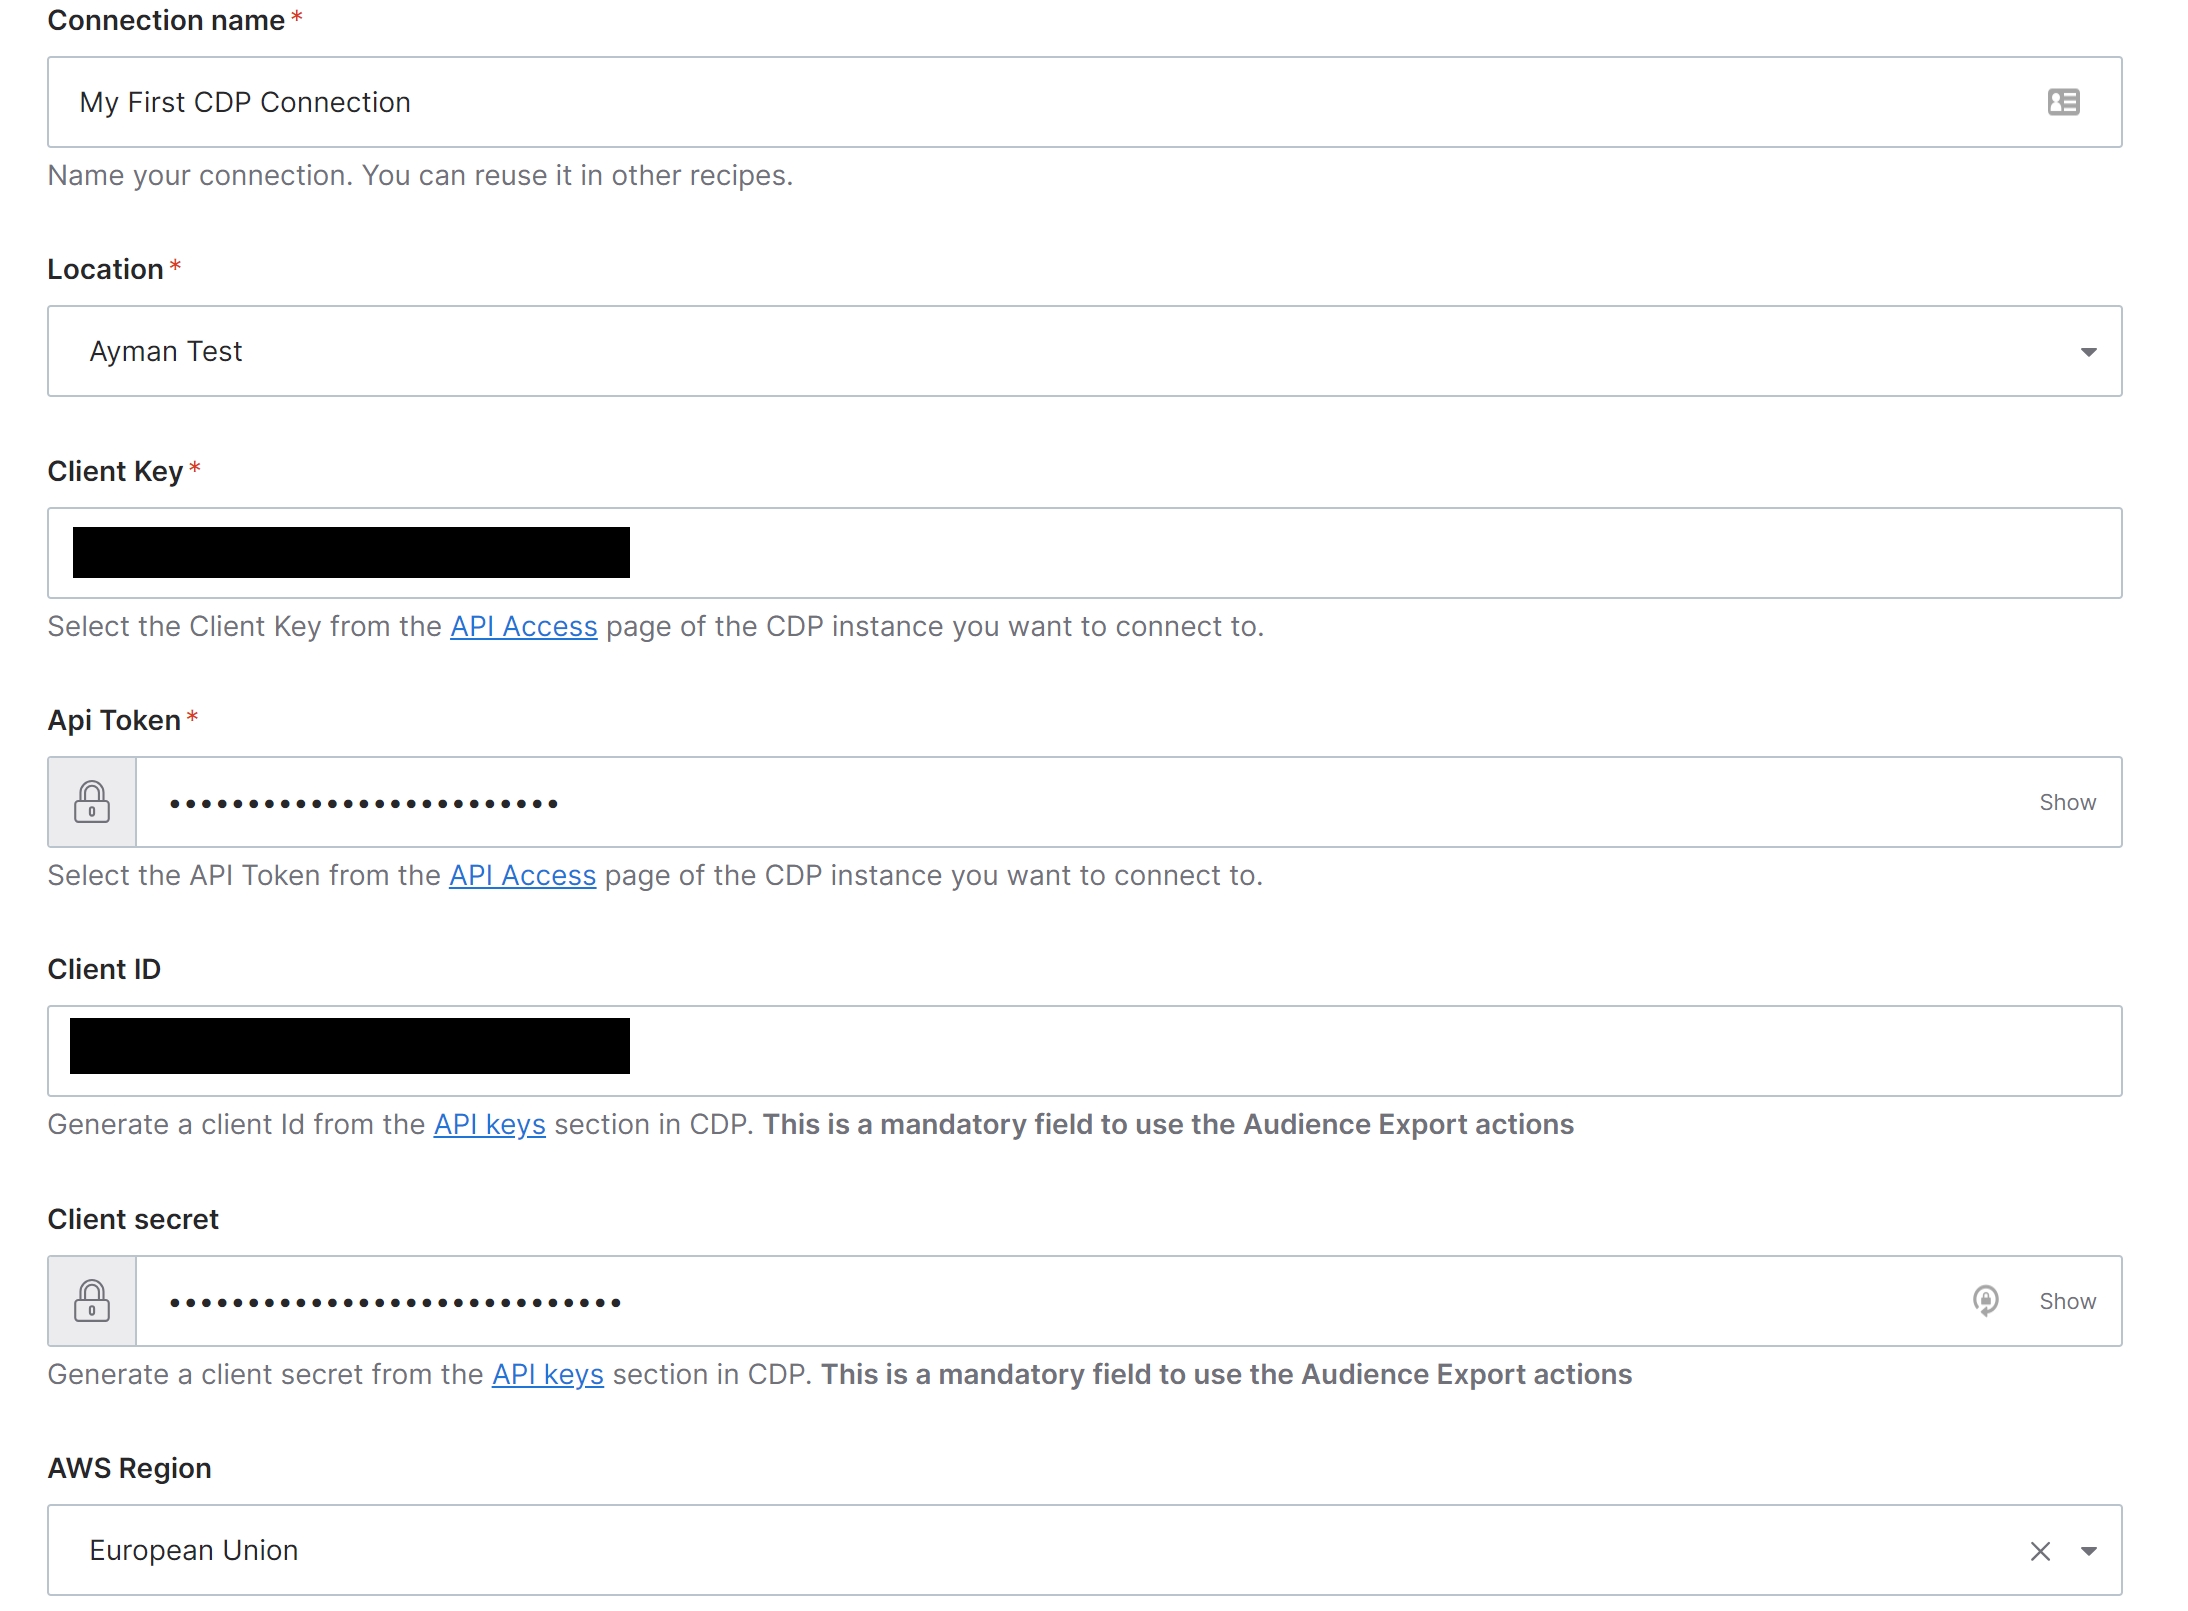
- Once you provided the right keys, it will be connected now.
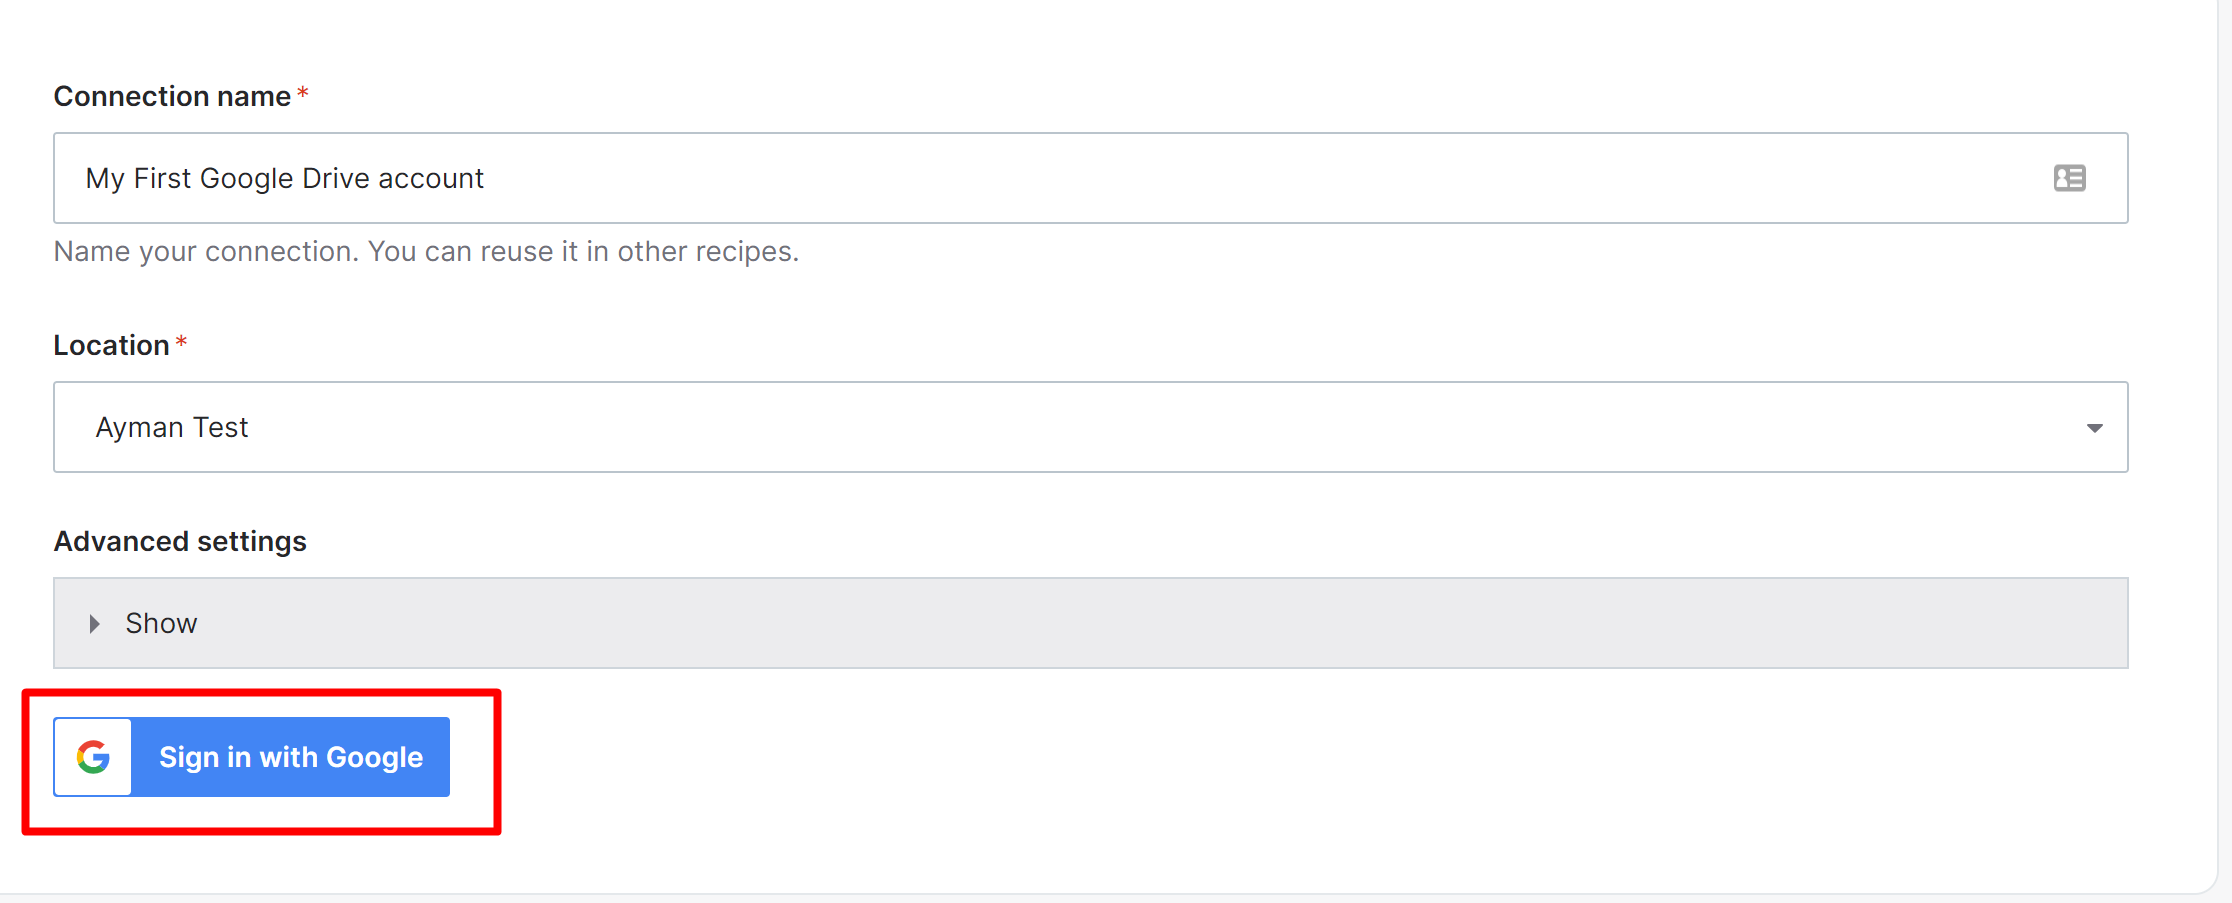
B) Google Drive Connections : This is to upload the exported audience file.
- Create new connection, choose Google Drive.
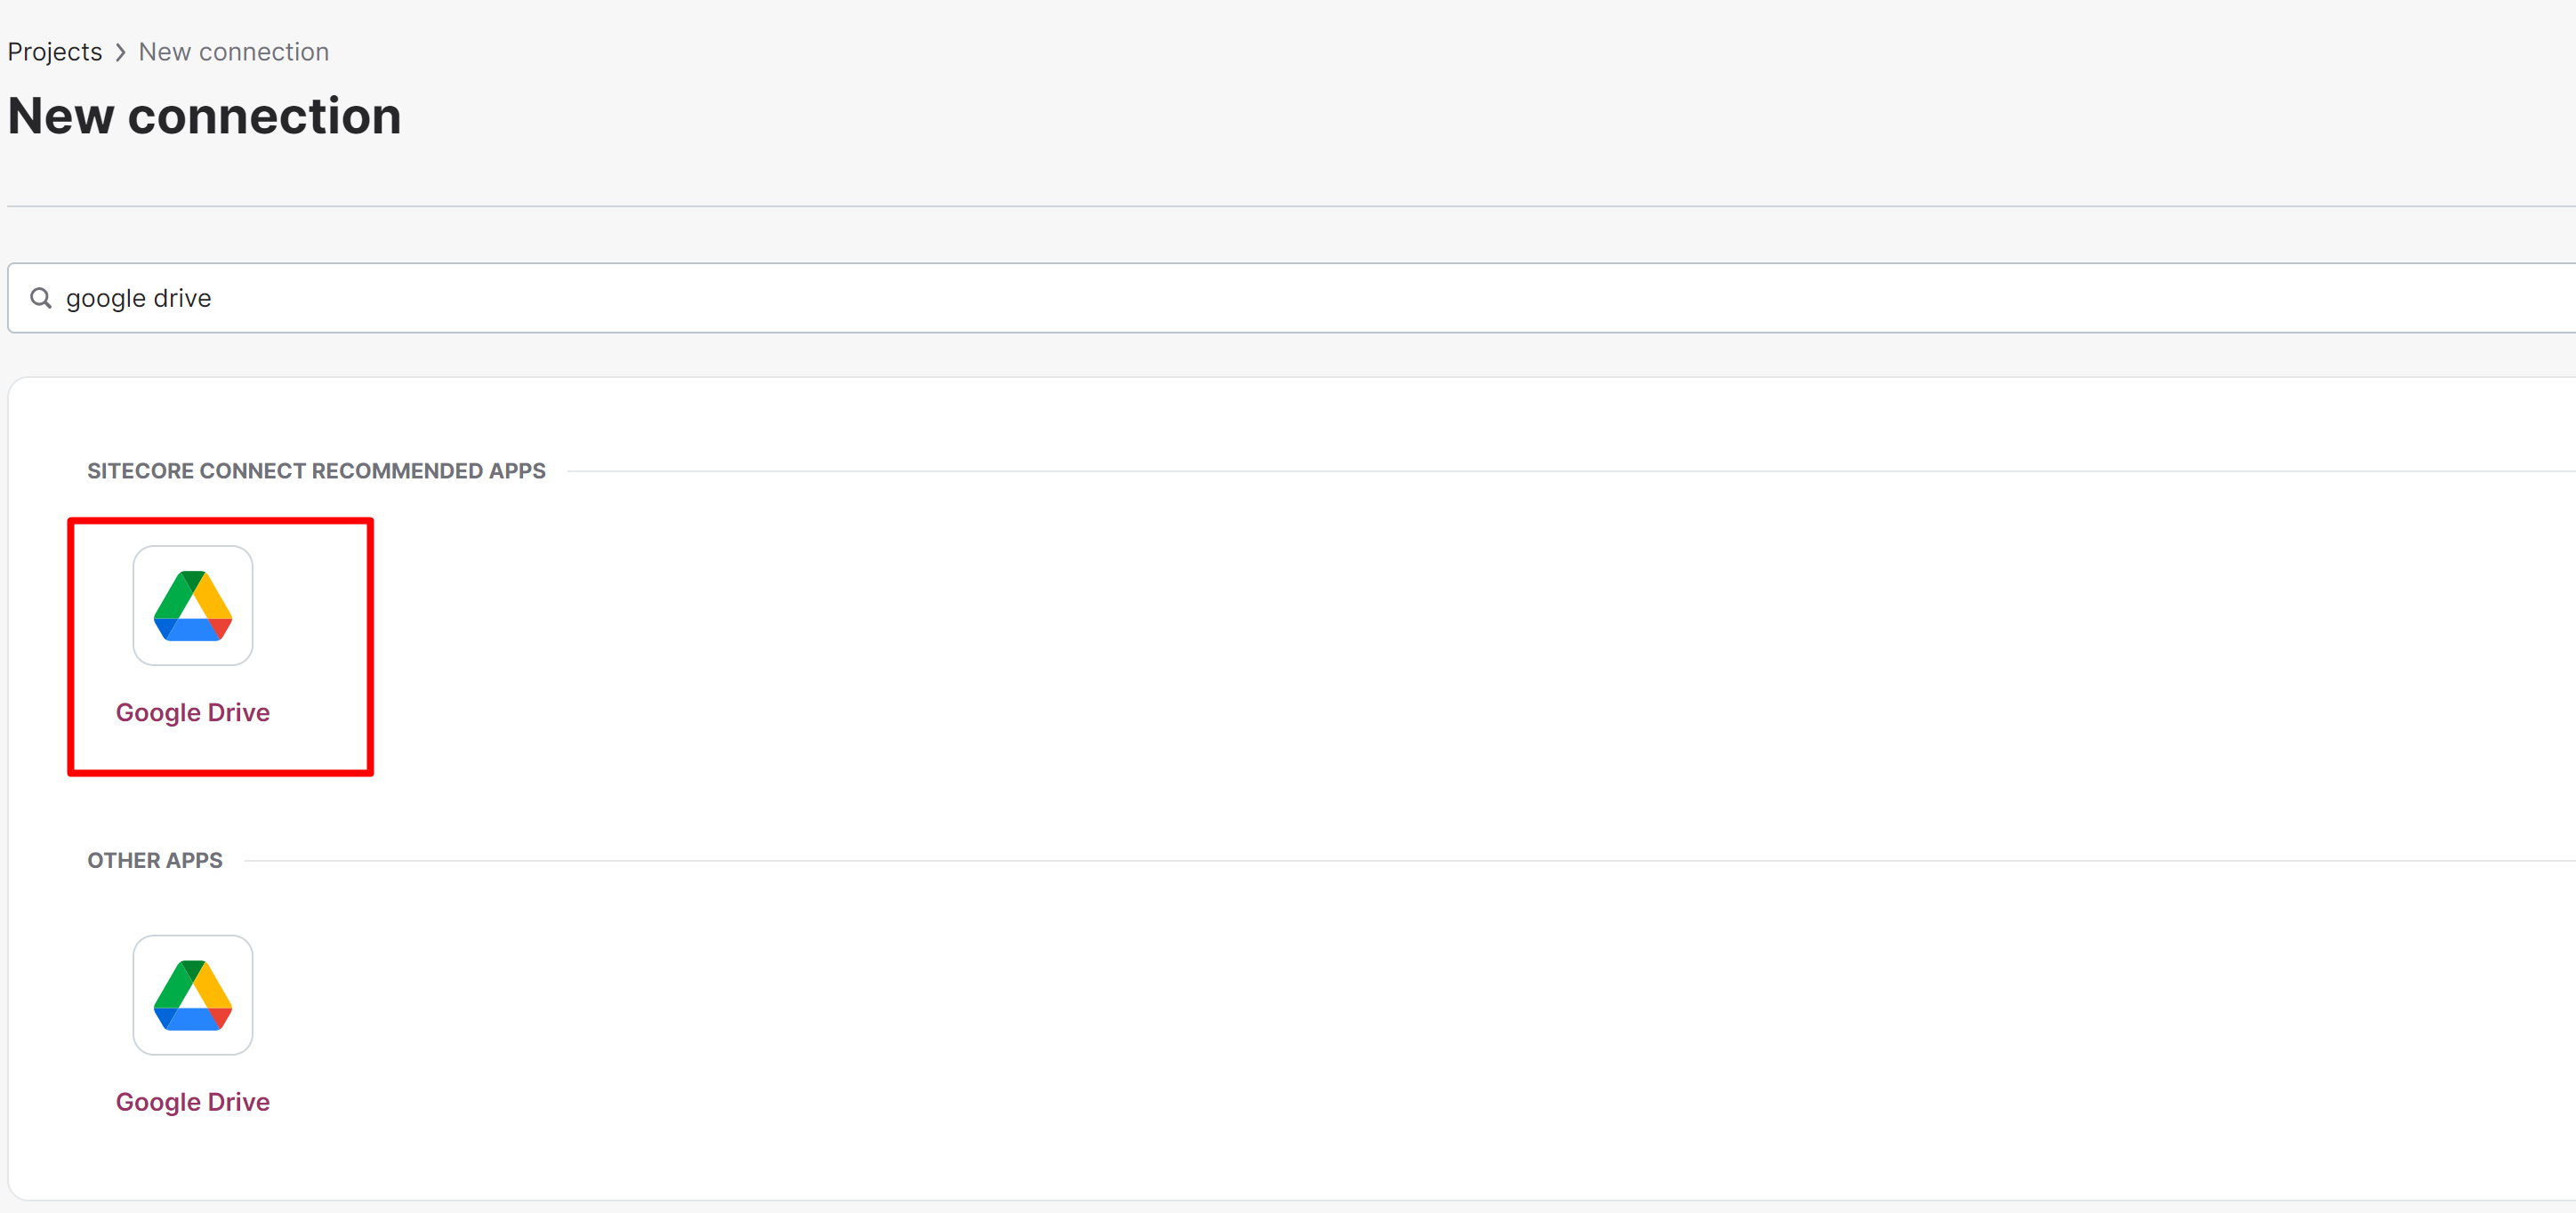
- Here you can directly sign in with the google account.
2) Create Recipe : Recipes are automations for business processes, they are a set of workflow that help connect your business applications. Coupled with many other advanced features, Workato recipes are able to handle all app integration and workflow automation scenarios ranging from simple to complex.
In our scenario, we will use the recipe to to be triggered every 12 hours to get the latest audience sync file from Sitecore CDP and upload it to google.
The core building blocks of recipes are :
- Trigger: Business events that will kick off the integration to complete actions automatically e.g. new opportunity is created in Salesforce, for our scenario we will run it on schedule time.
- Automate Actions: Set of business event outcomes that you want to accomplish based on the triggered event e.g. create an invoice, send email/SMS, update contact information, and this will be actions such as get the latest file from CDP, decompress the file and upload it to Google Drive.
- Test and Start: Test the connections, check triggers, validate actions.
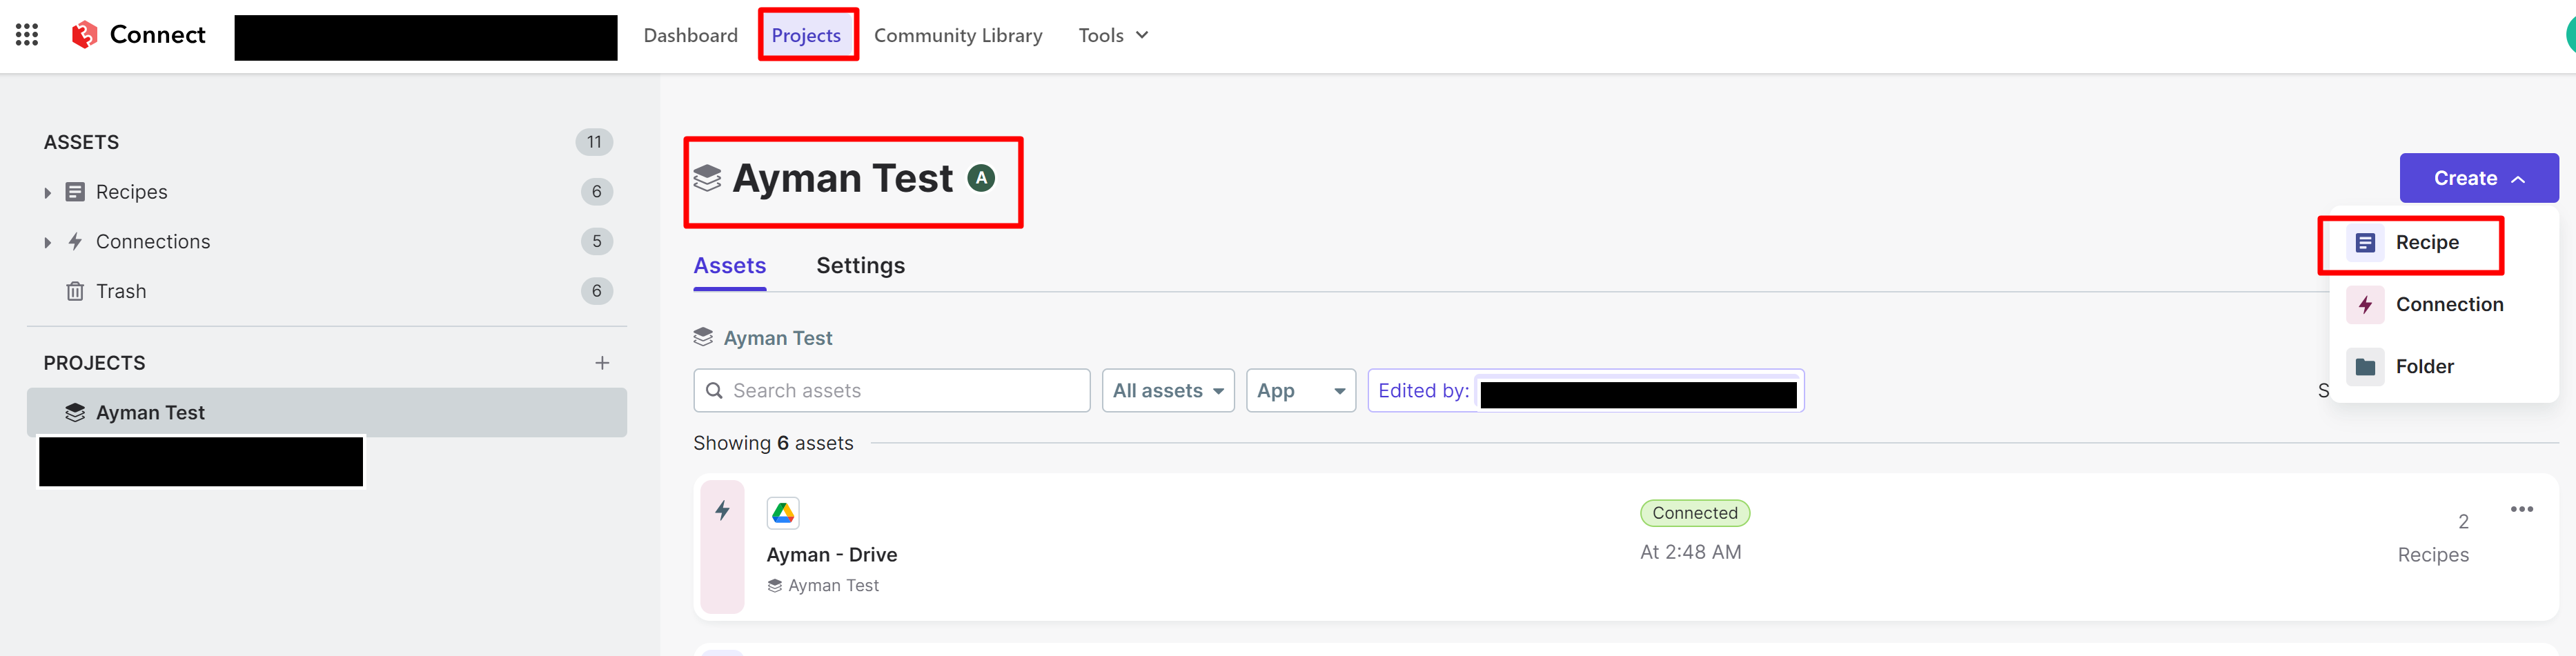
1) To create recipe, go to project -> create -> recipe
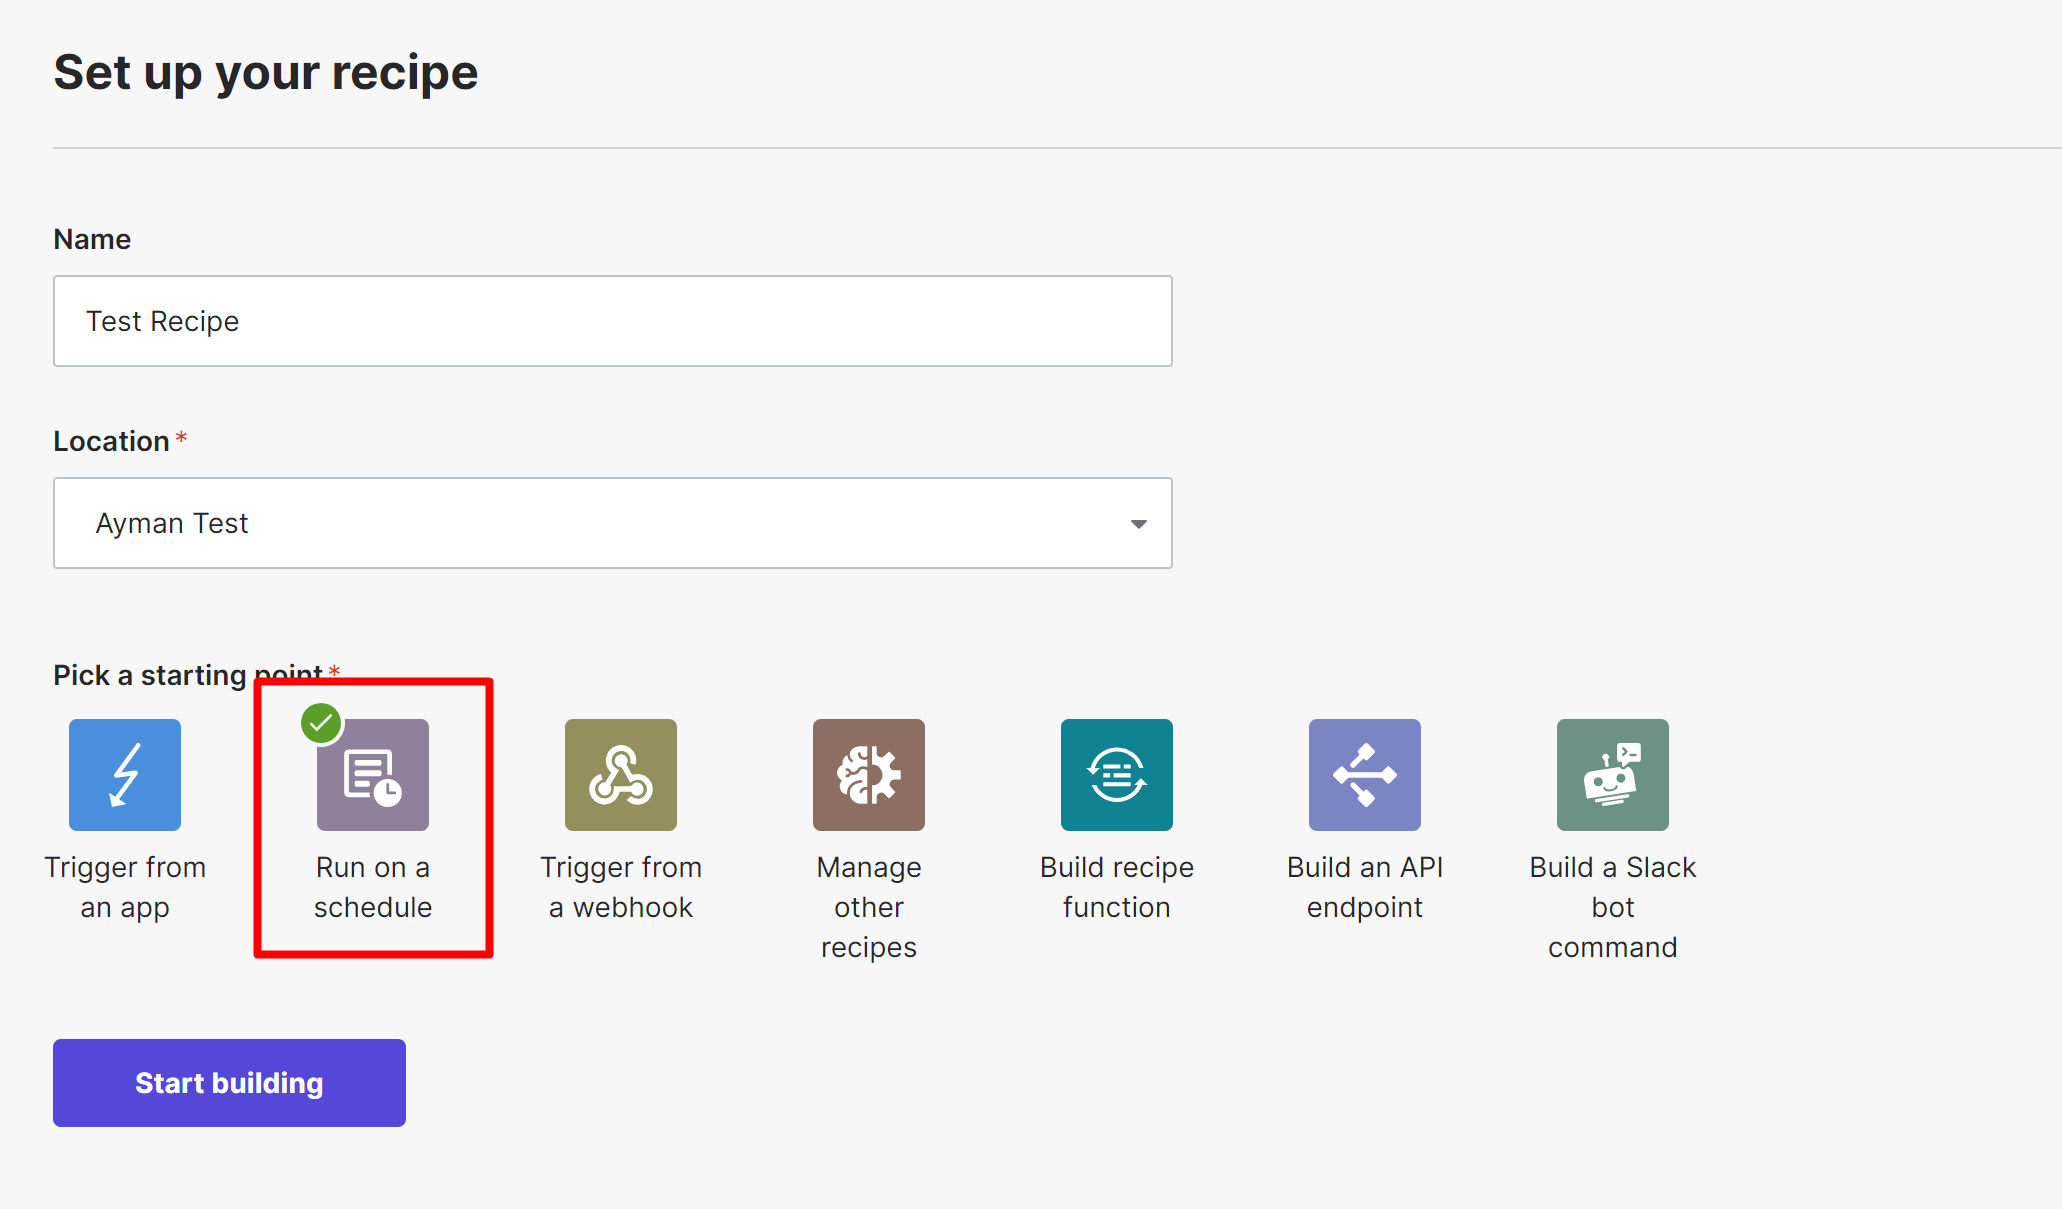
2) Type your recipe name, choose which project you want to add it to, and for our example we will trigger it based on Schedule (every 12 hours), then we click “Start Building”
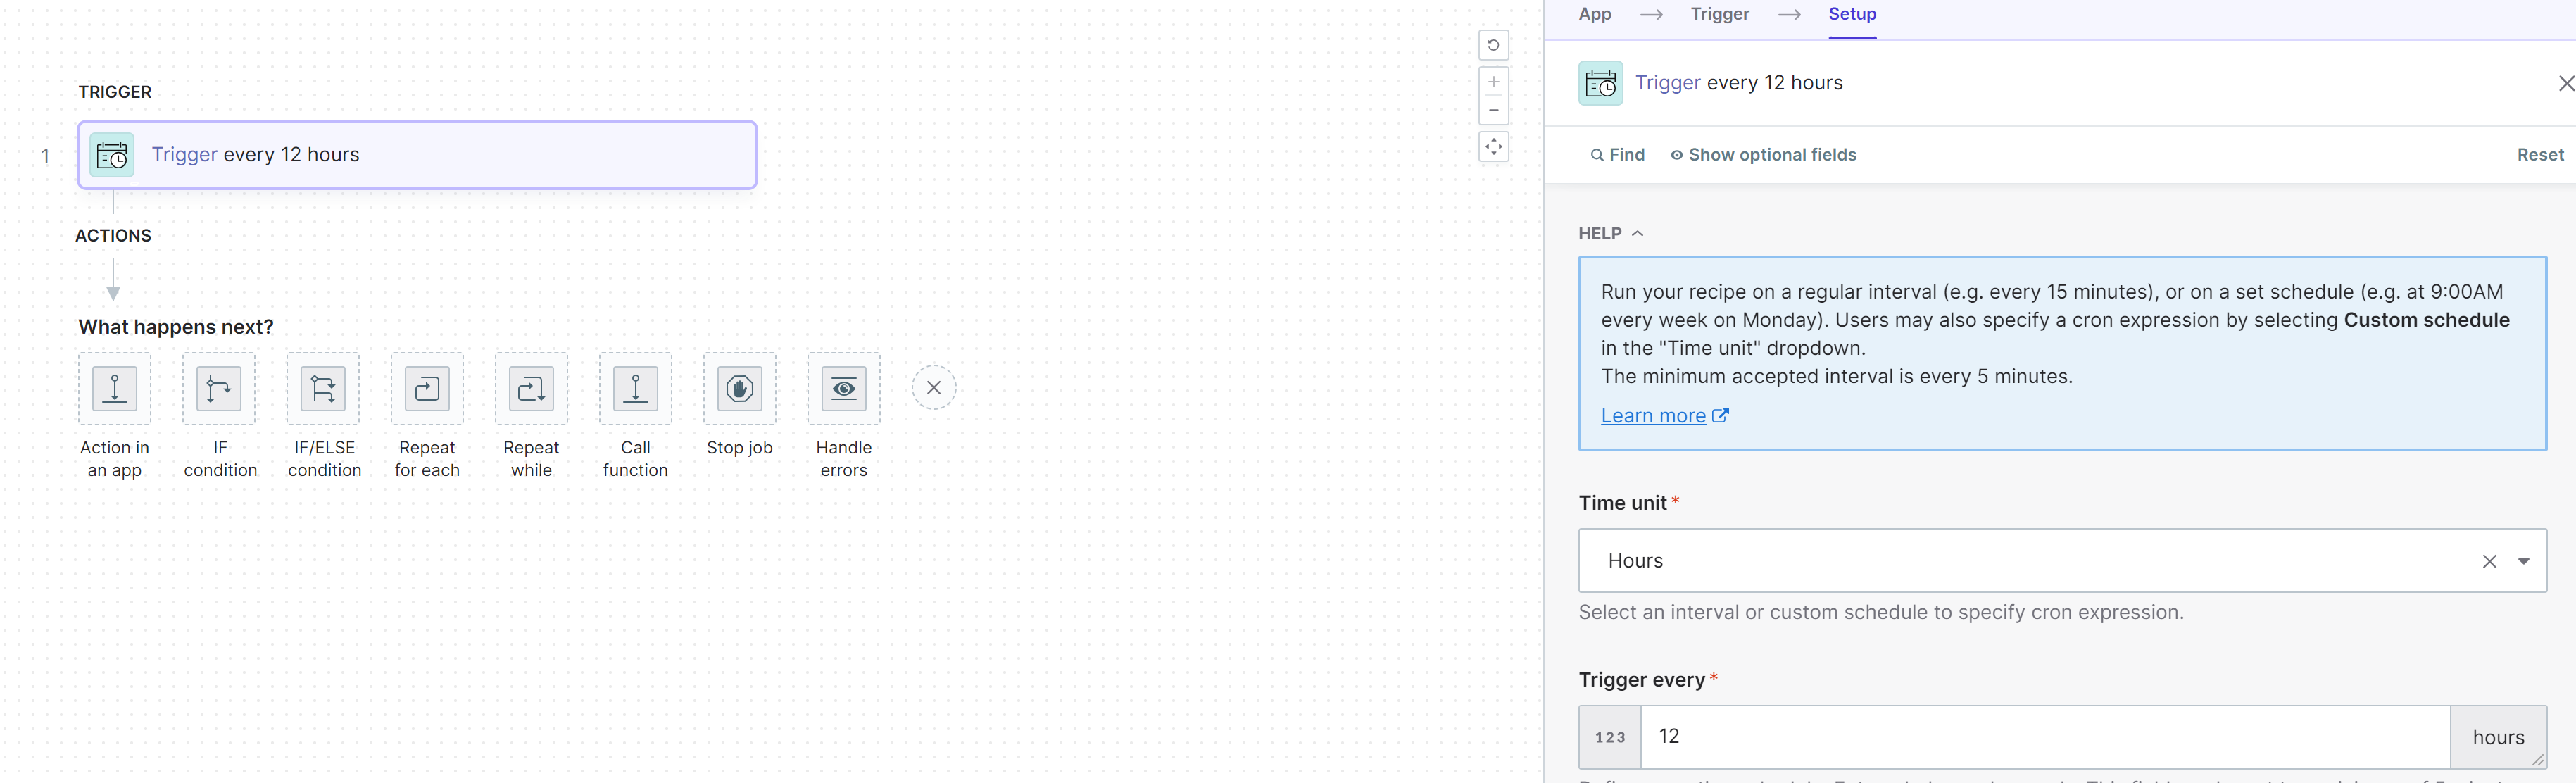
3) This will take you to a designer page, where you can add and automated actions, we will choose to run this every 12 hours, then will ask you to provide the next action
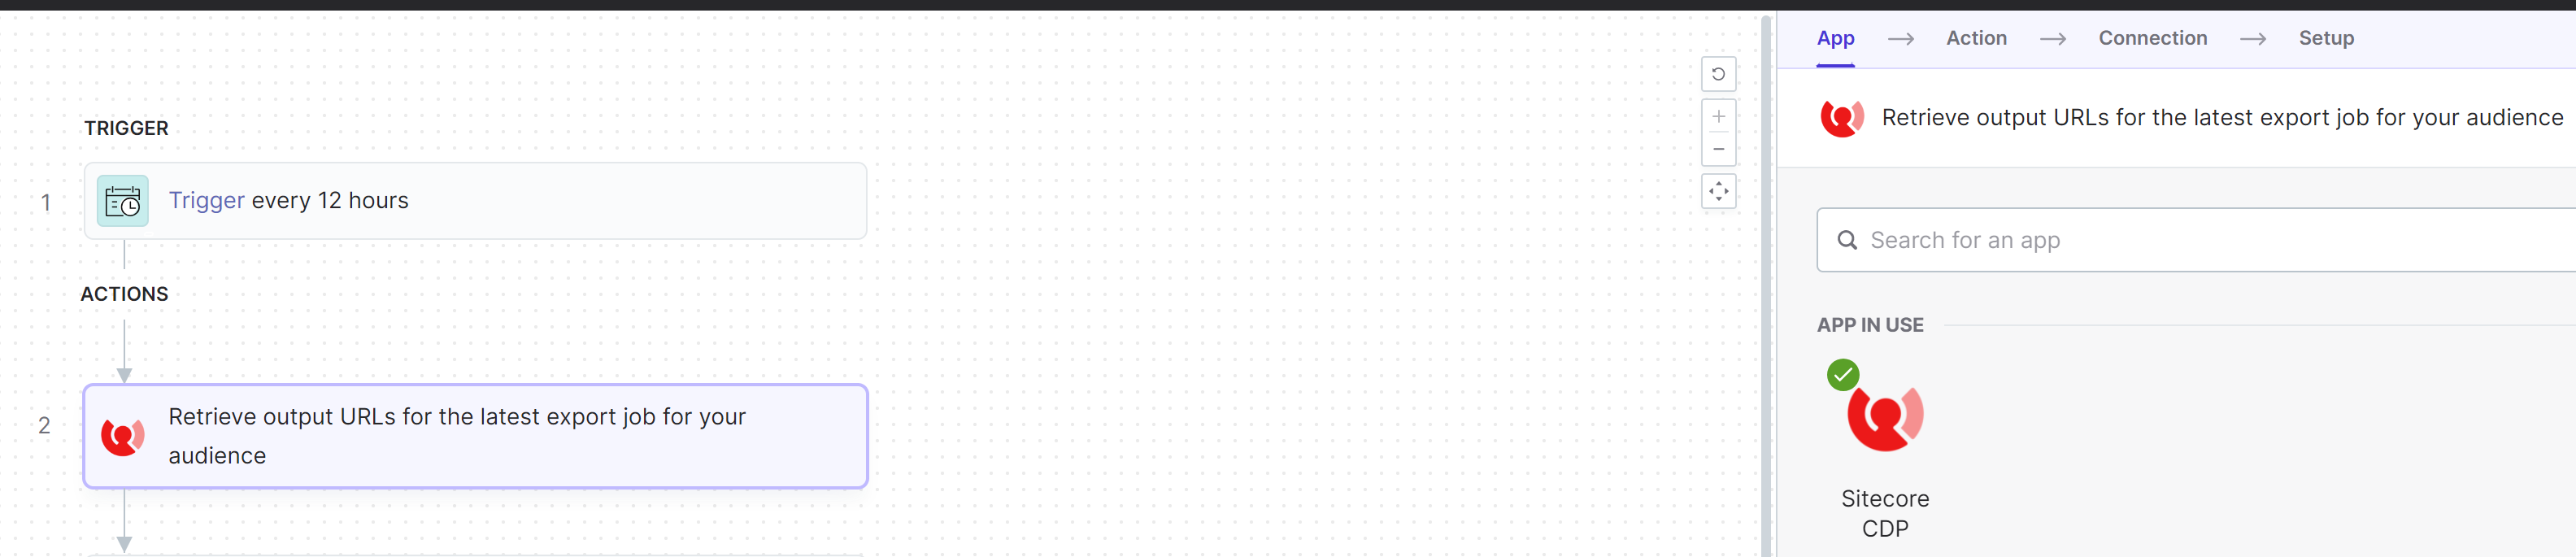
I will click on the “Action in an app“
4) Next, I want to retrieve the audience file, so I will use “Sitecore CDP” connection from App, and select “Audience Export – Get Latest Files“

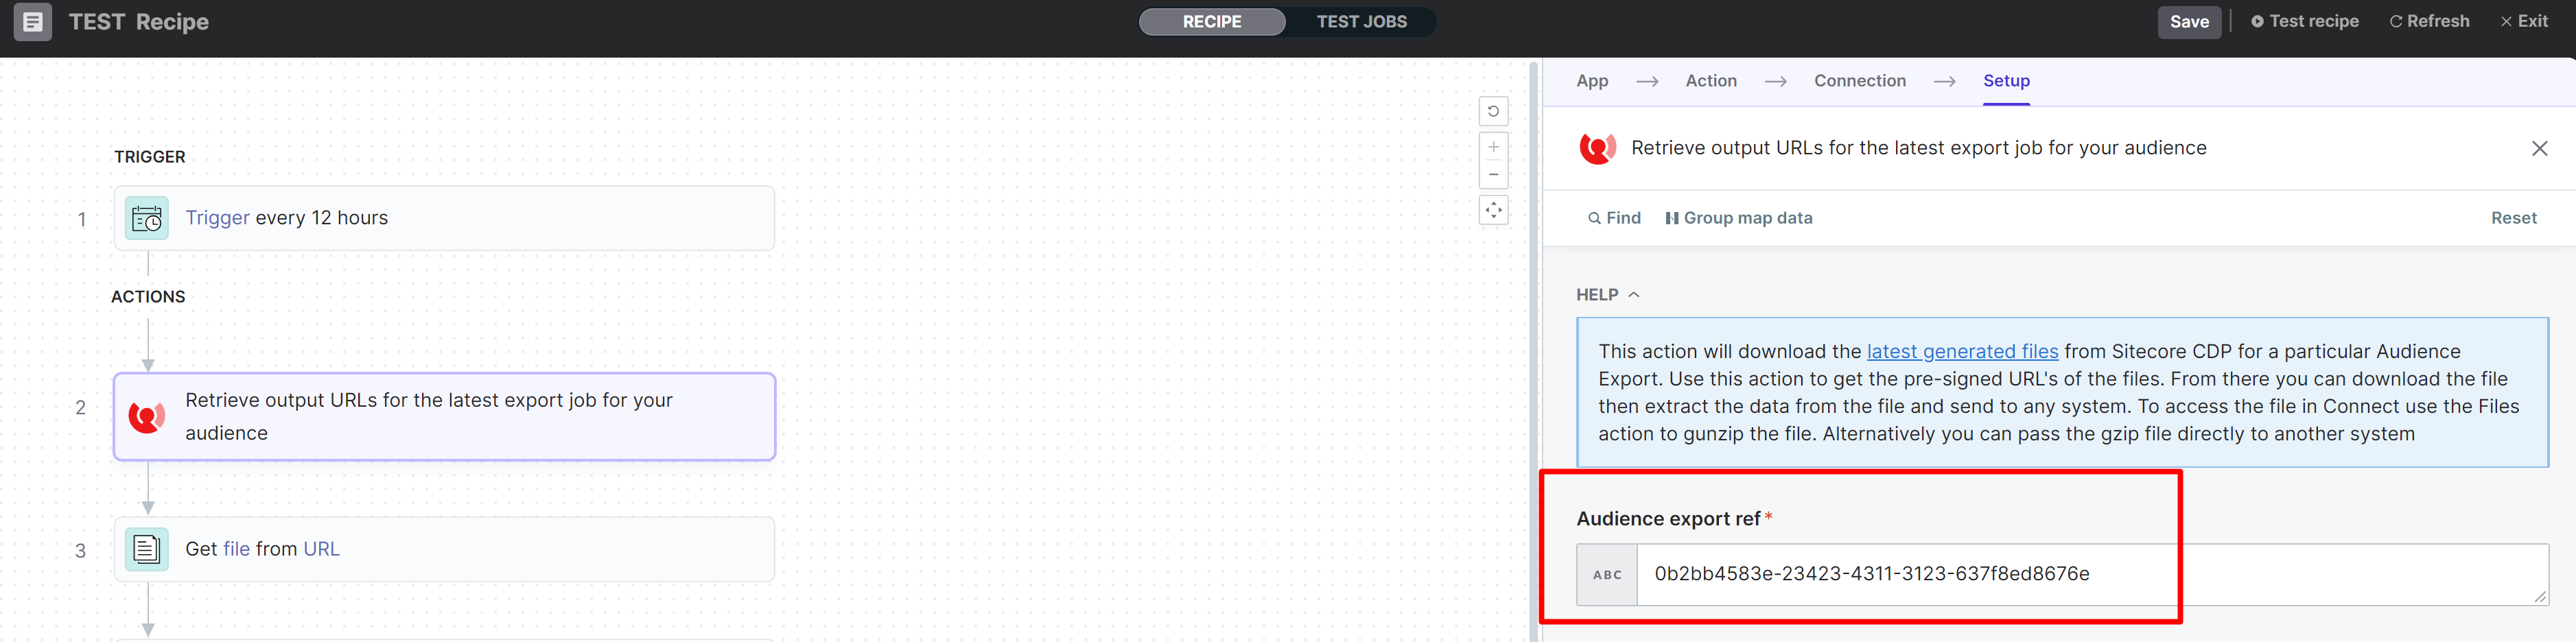
5) As input for testing purpose, I will provide the audience sync flow ref
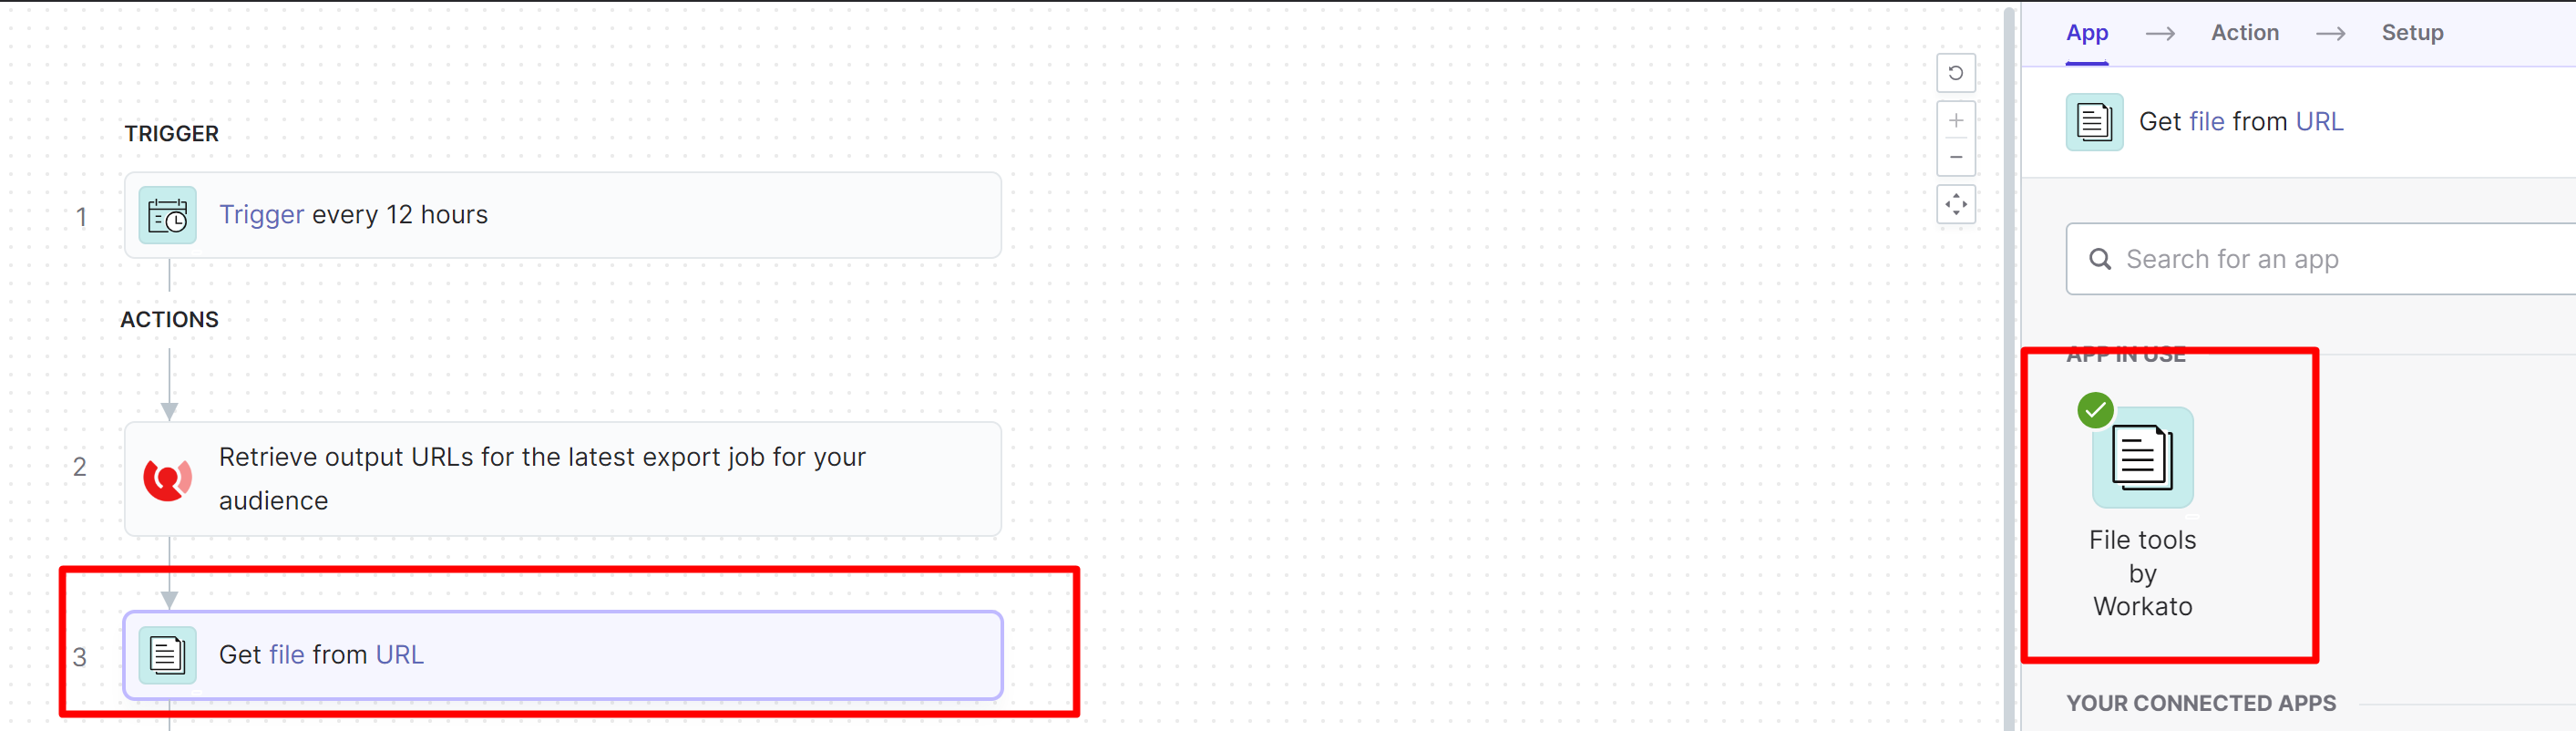
6) This will retrieve for me the URL in the output to download the file, I will create new action, choose Action in an app then “File Tools by Workato” to read the file that is coming from the URL in step #2.
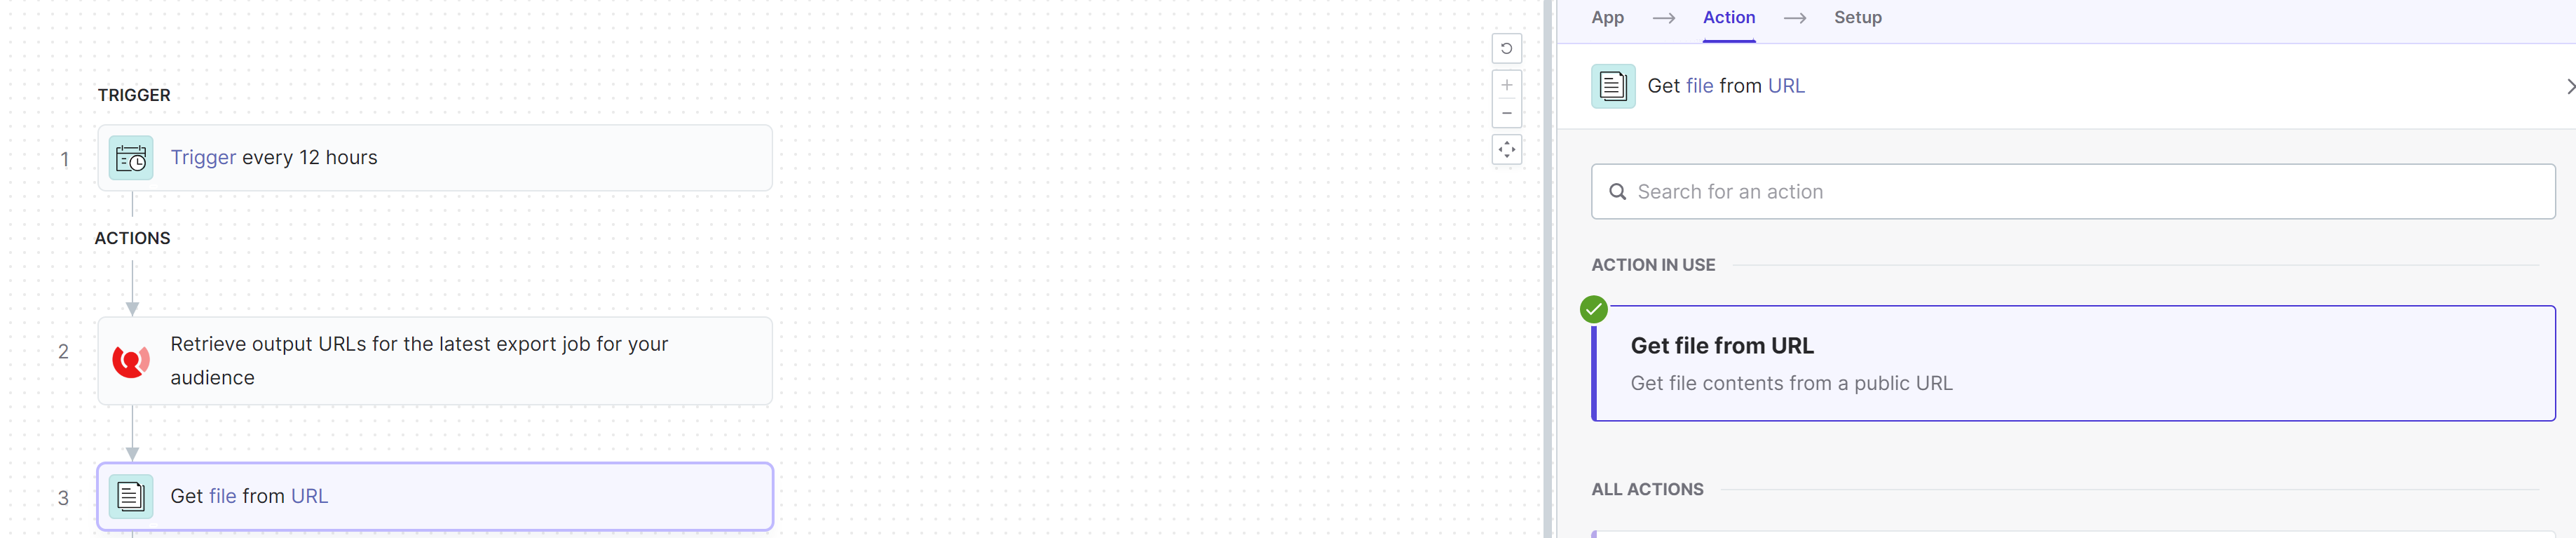
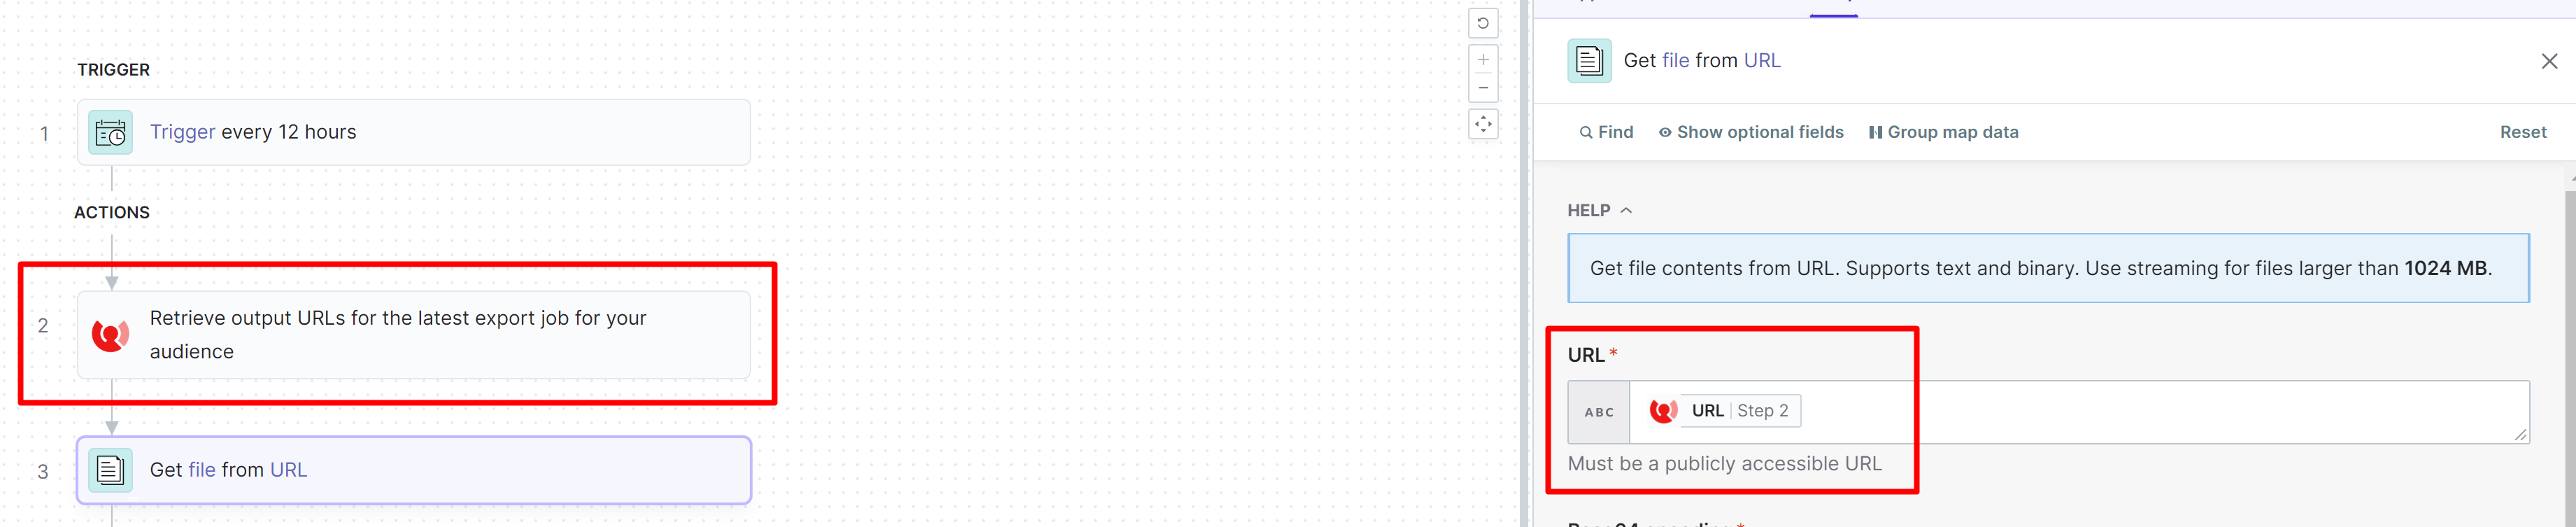
7) Choose get file from URL.
8) provide URL from step# 2 as input, this is dynamic field, you will be getting the value based on the output from previous step.
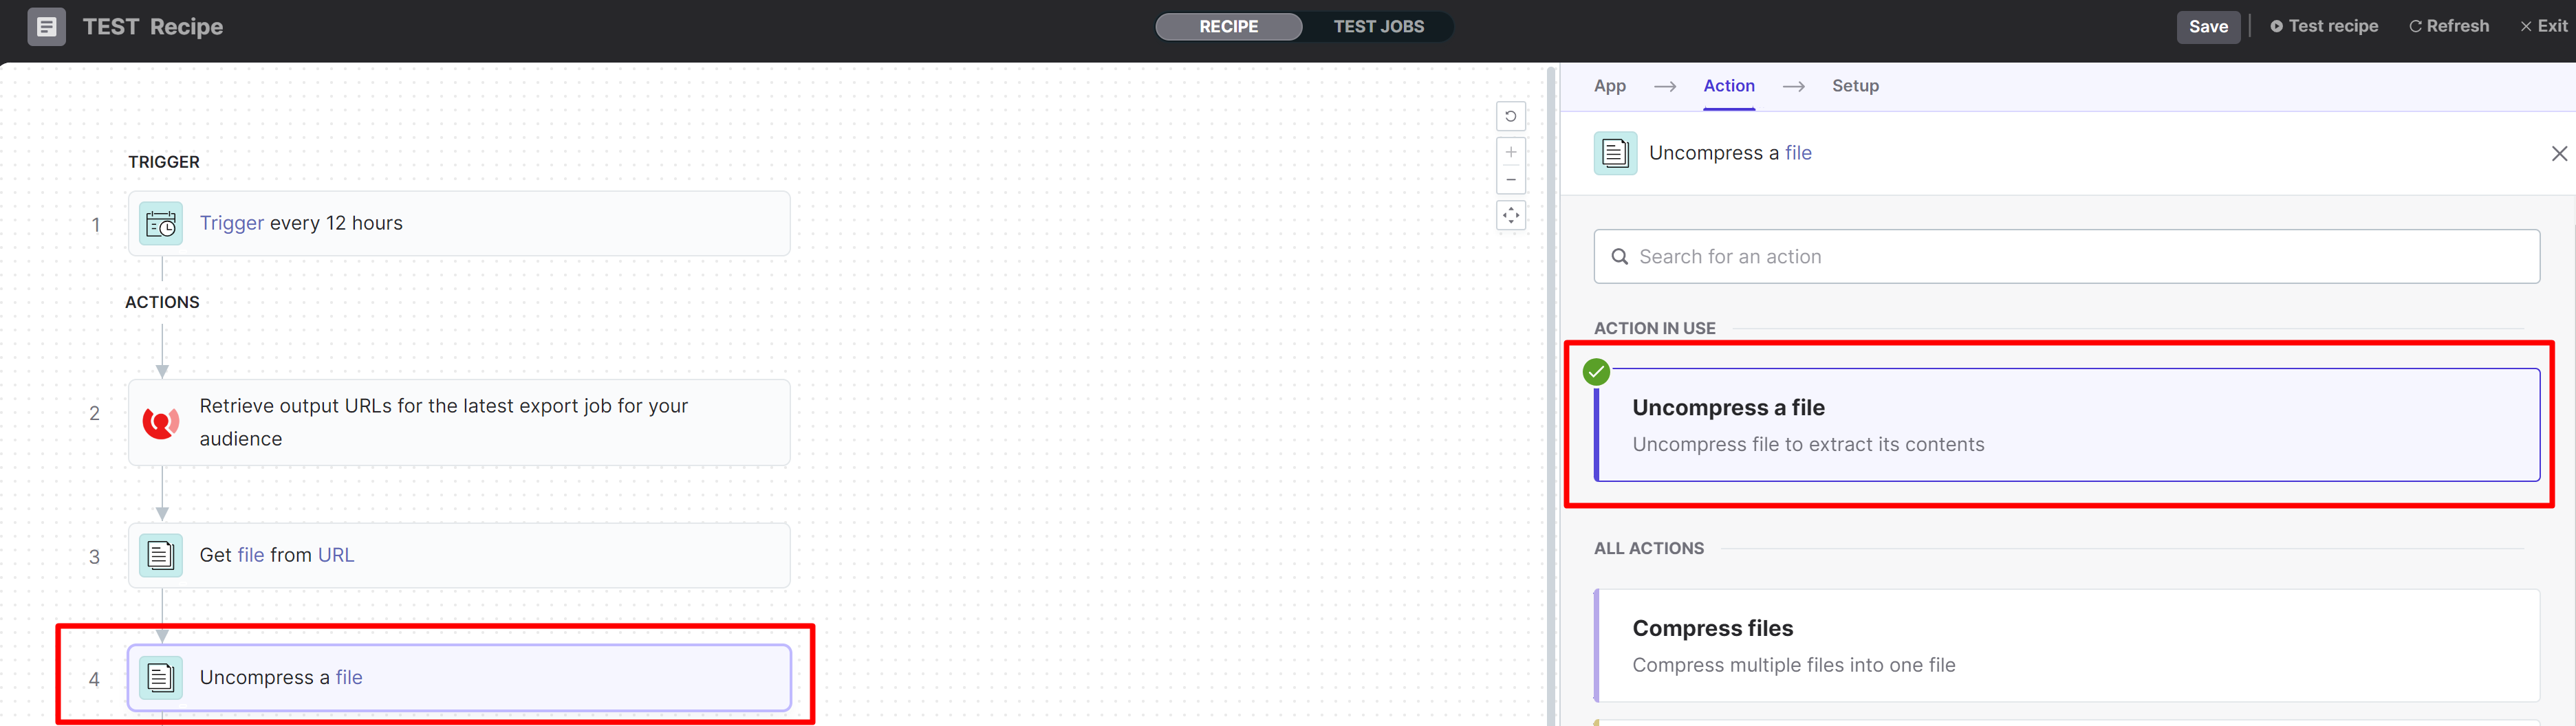
9) the downloaded file will be compressed, so first i want to uncompress the file, i will use “File Tools by Workato“, but this time i will choose “Uncompress a file” action
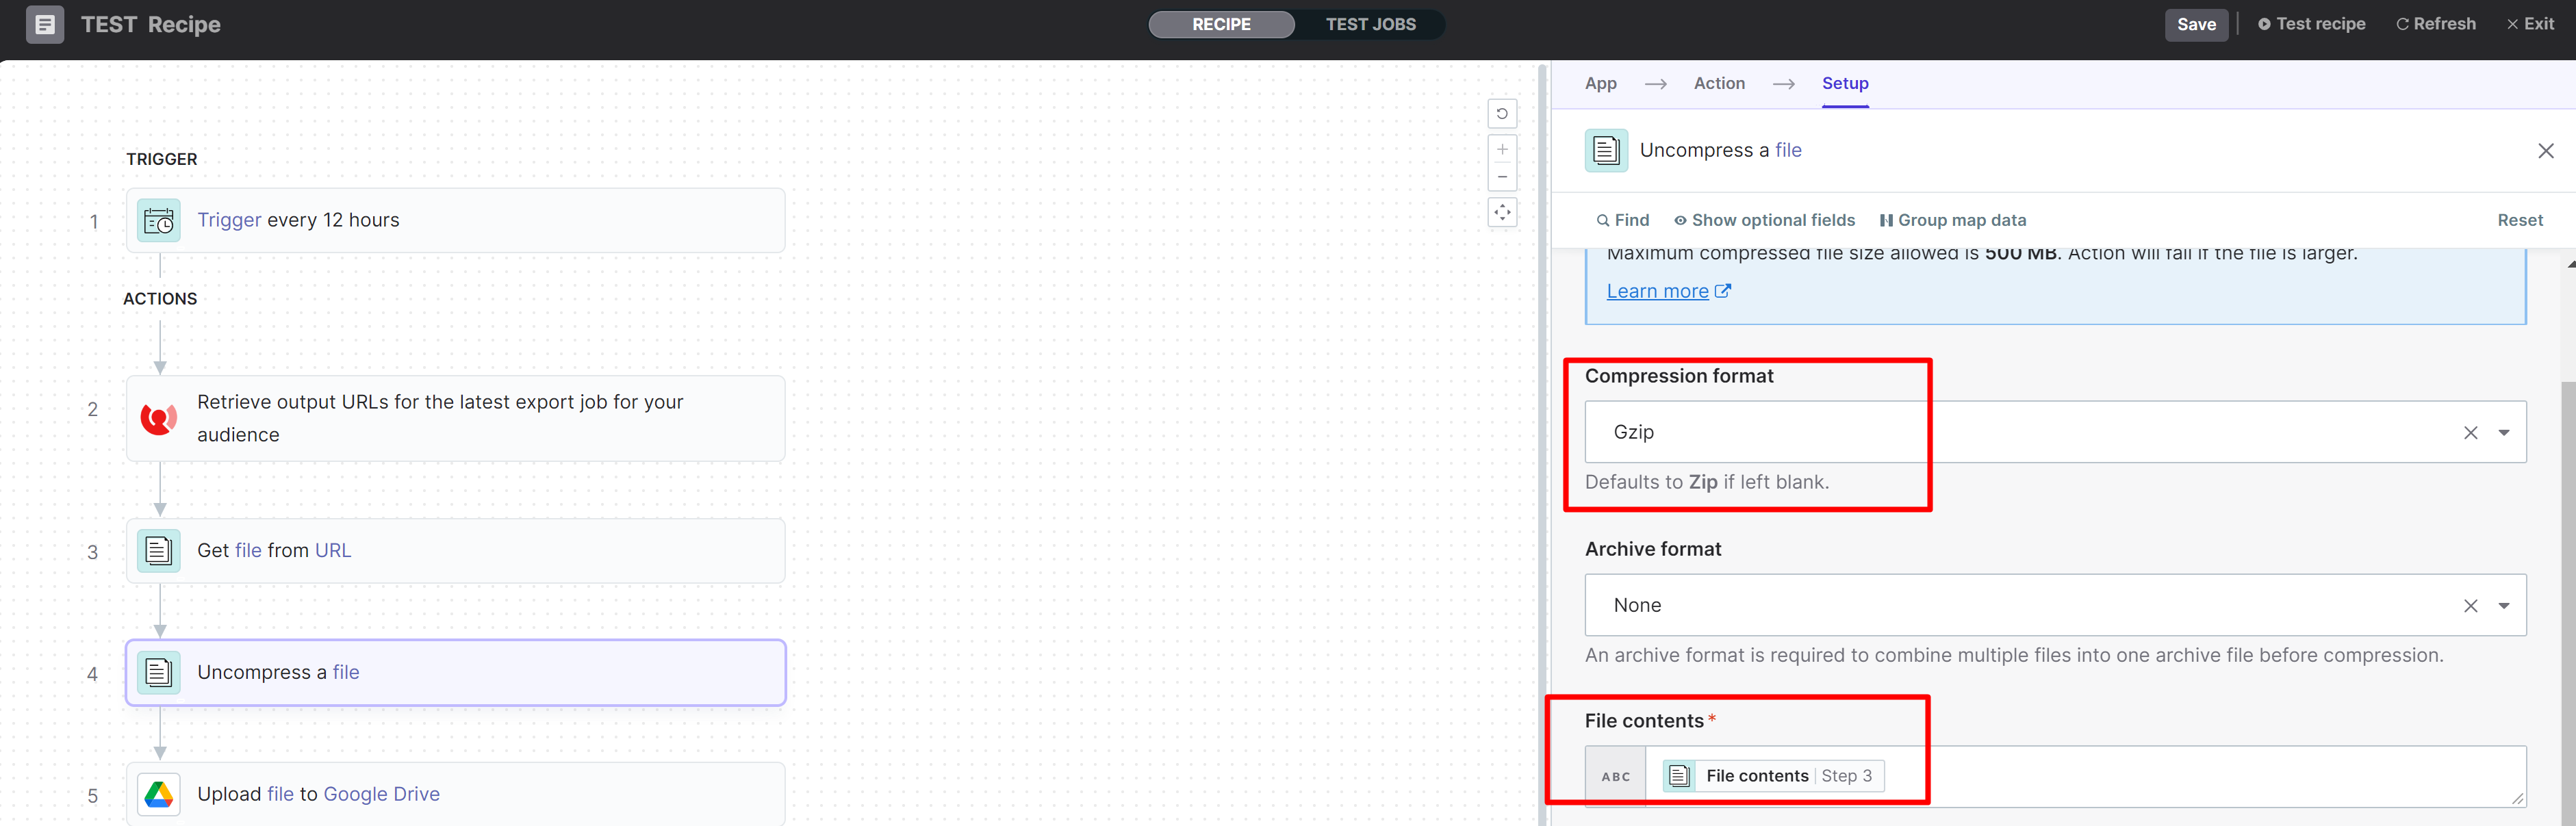
Workato supports two compression formats : Zip and Gzip, the exported file will be coming as Gzip, so I will select this format option, then will get the file content from step# 3
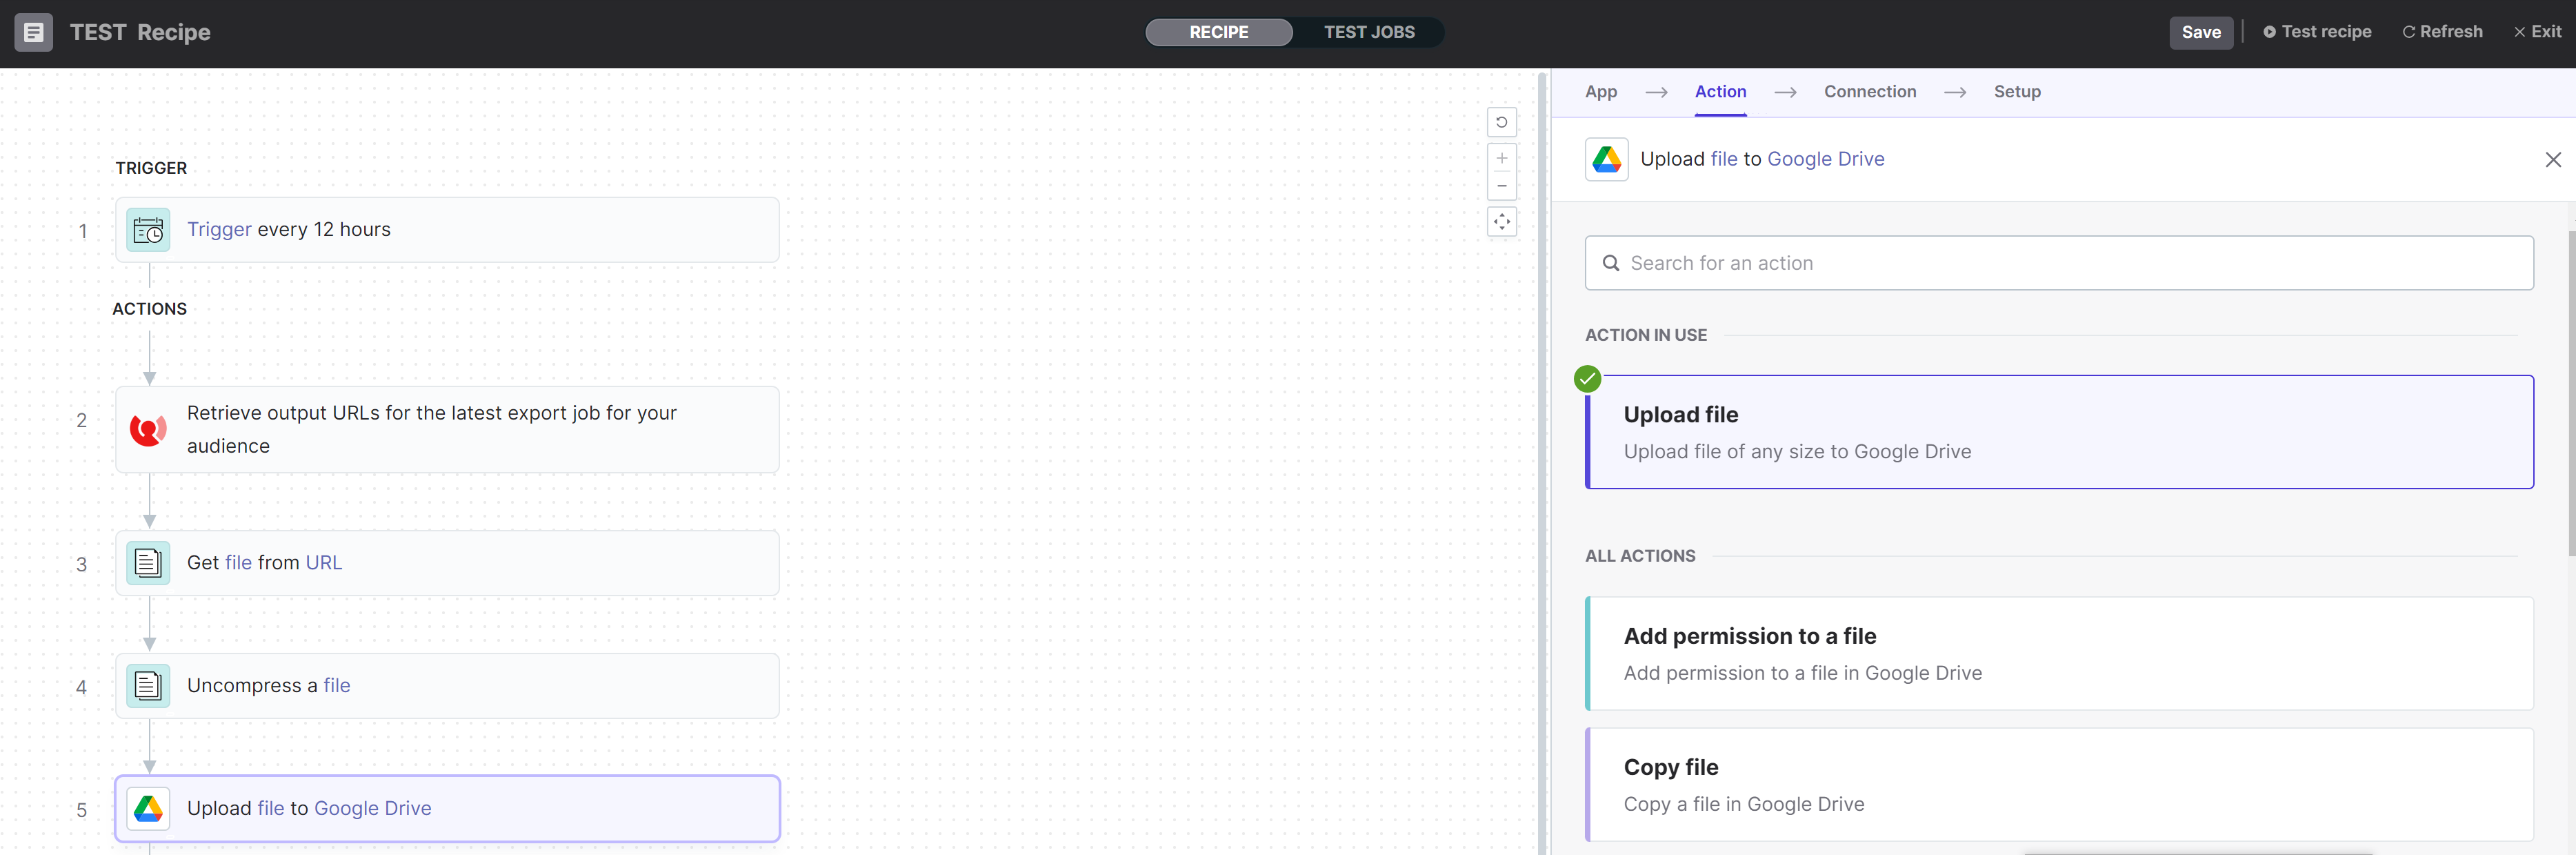
10) I will click I will click on the Action in an app-> Google Drive:
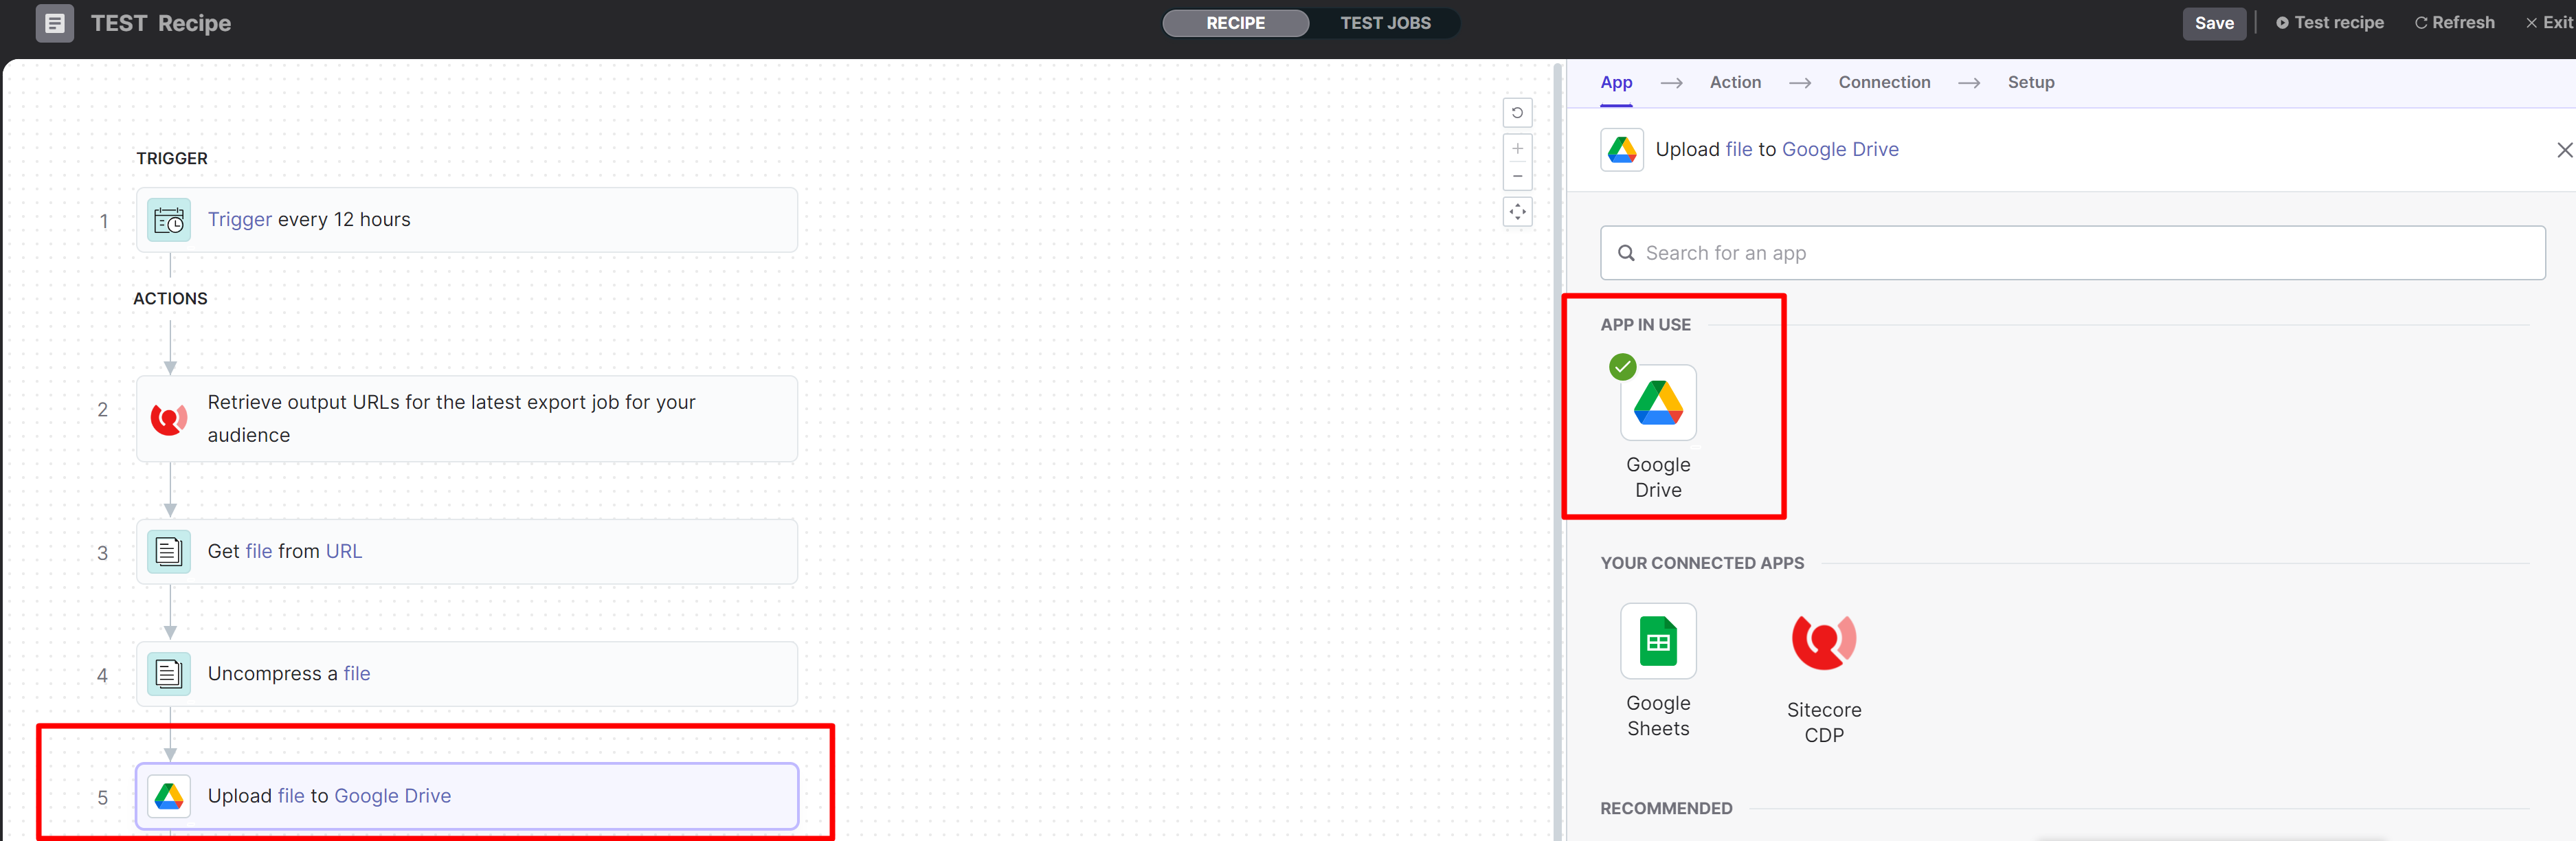
11) Choose upload file action, then choose the google connection
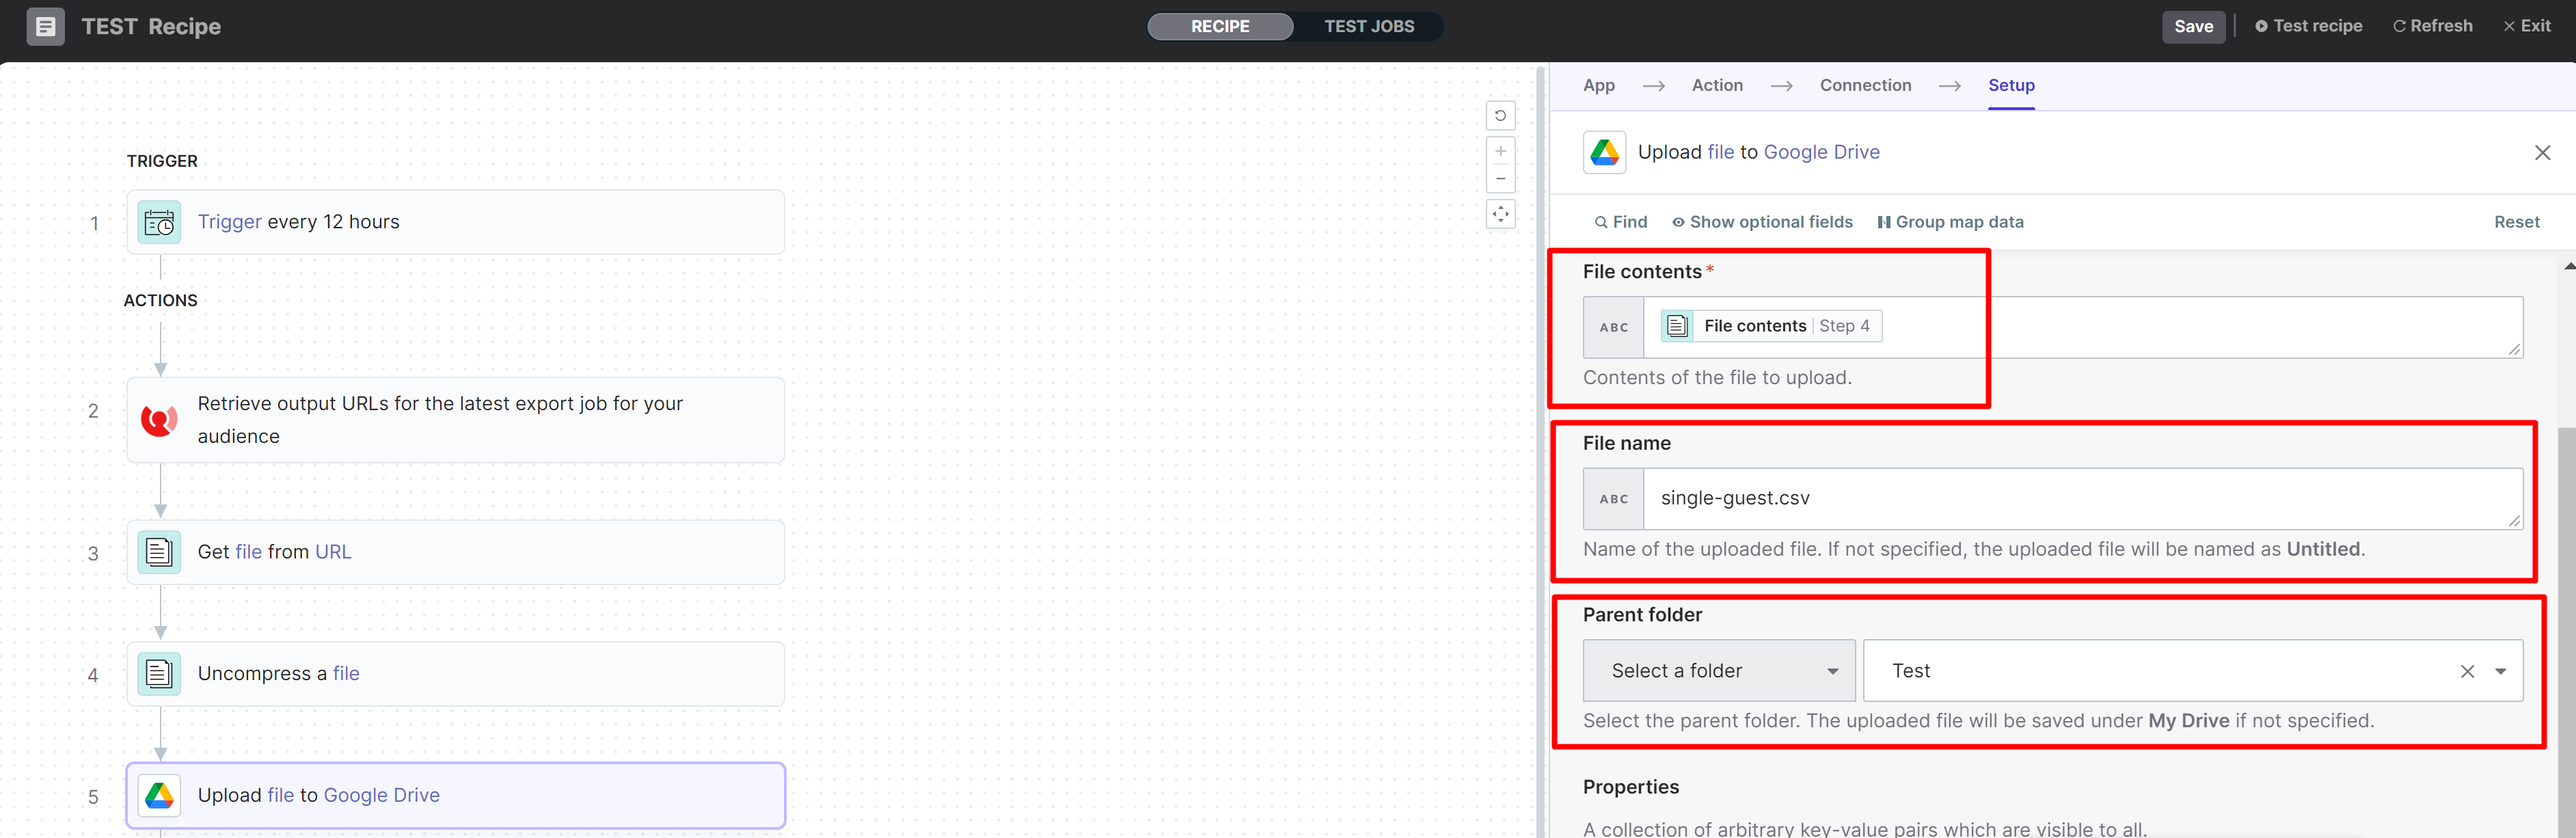
12) We will be uploading the file content that we get from step #4, providing the file name and the folder on google drive.
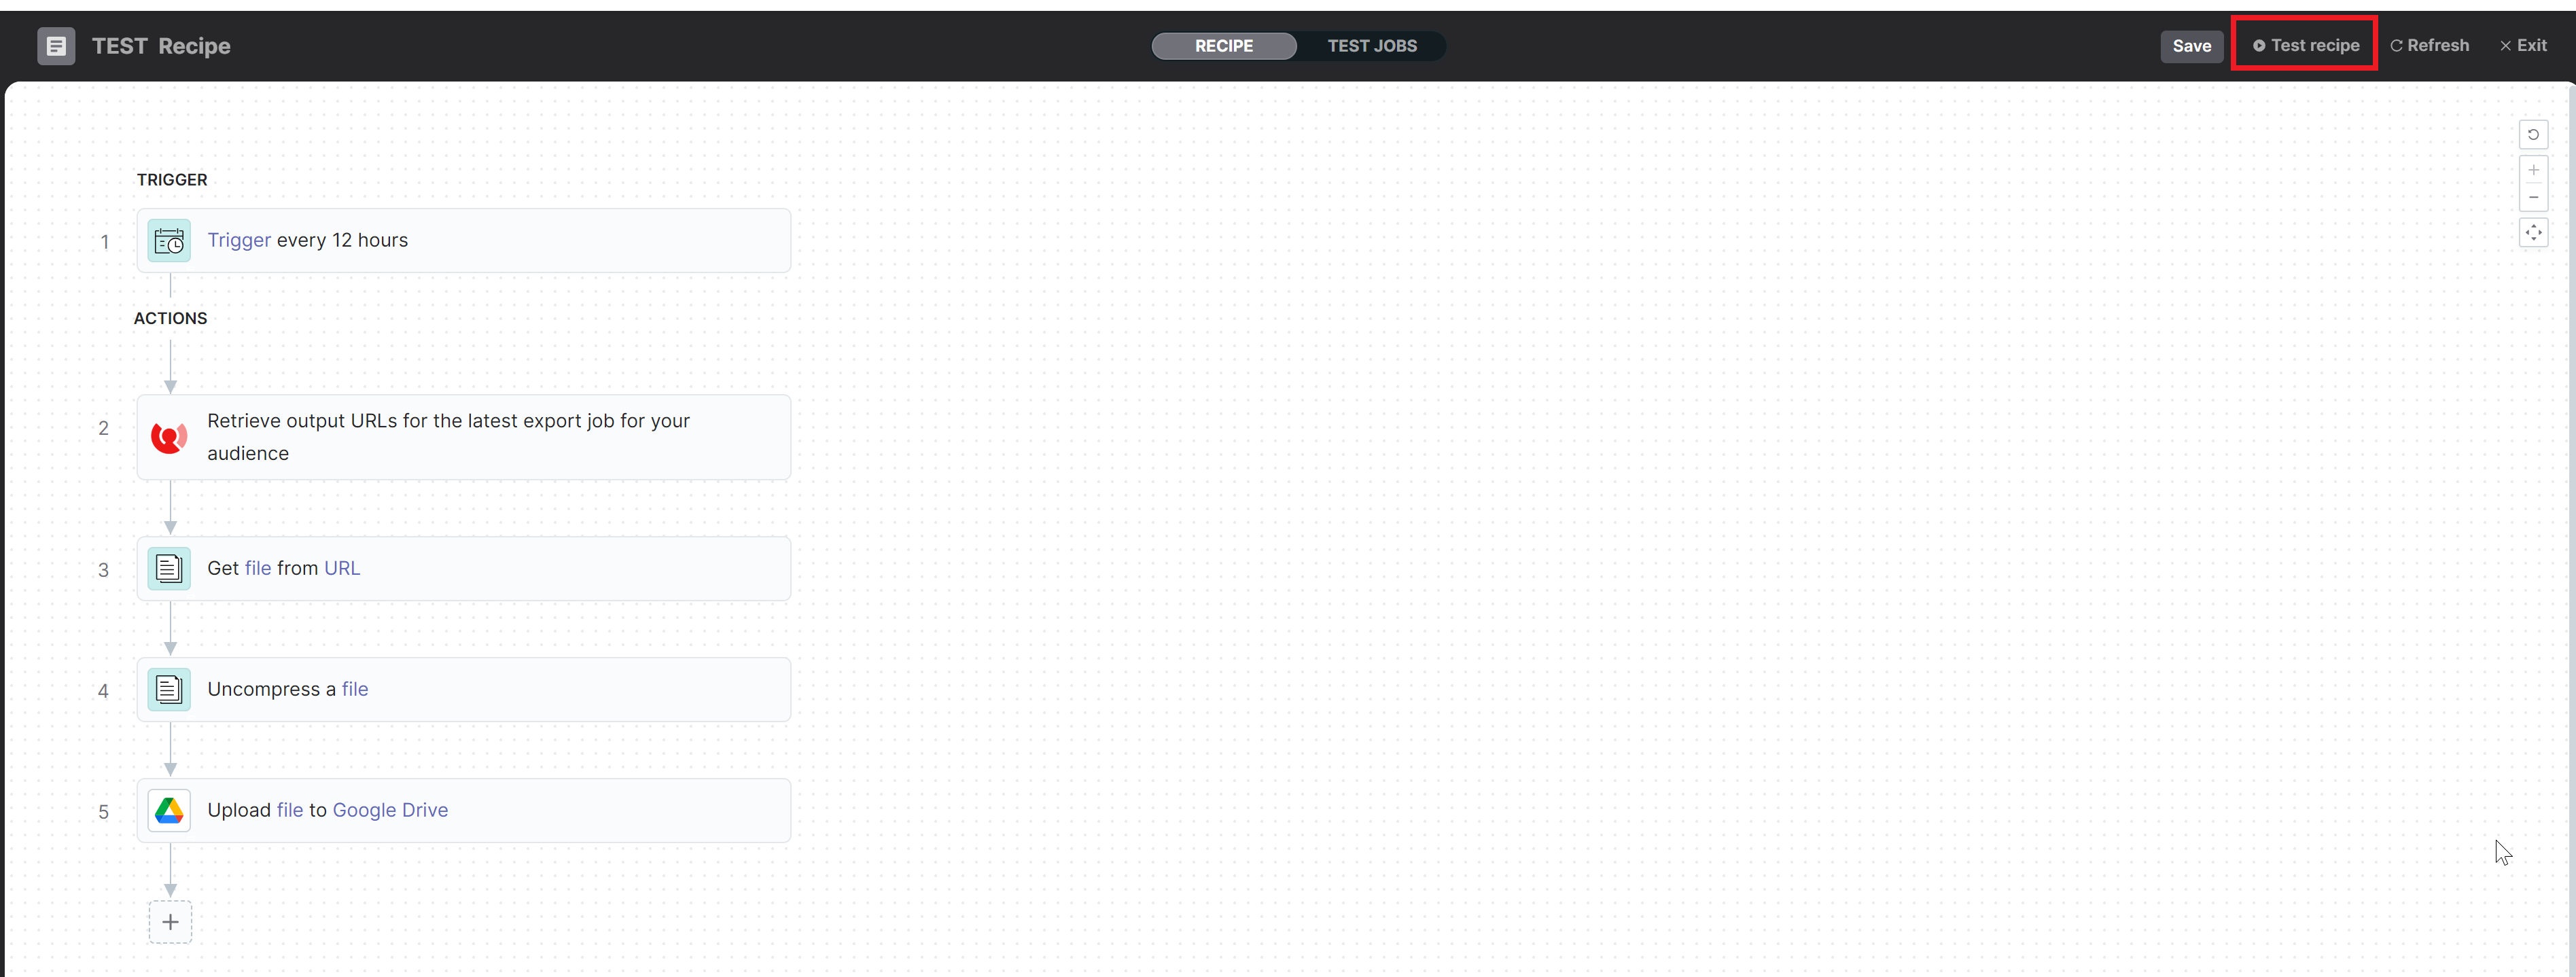
13) Last step is to test the recipe, to make sure everything is working fine.
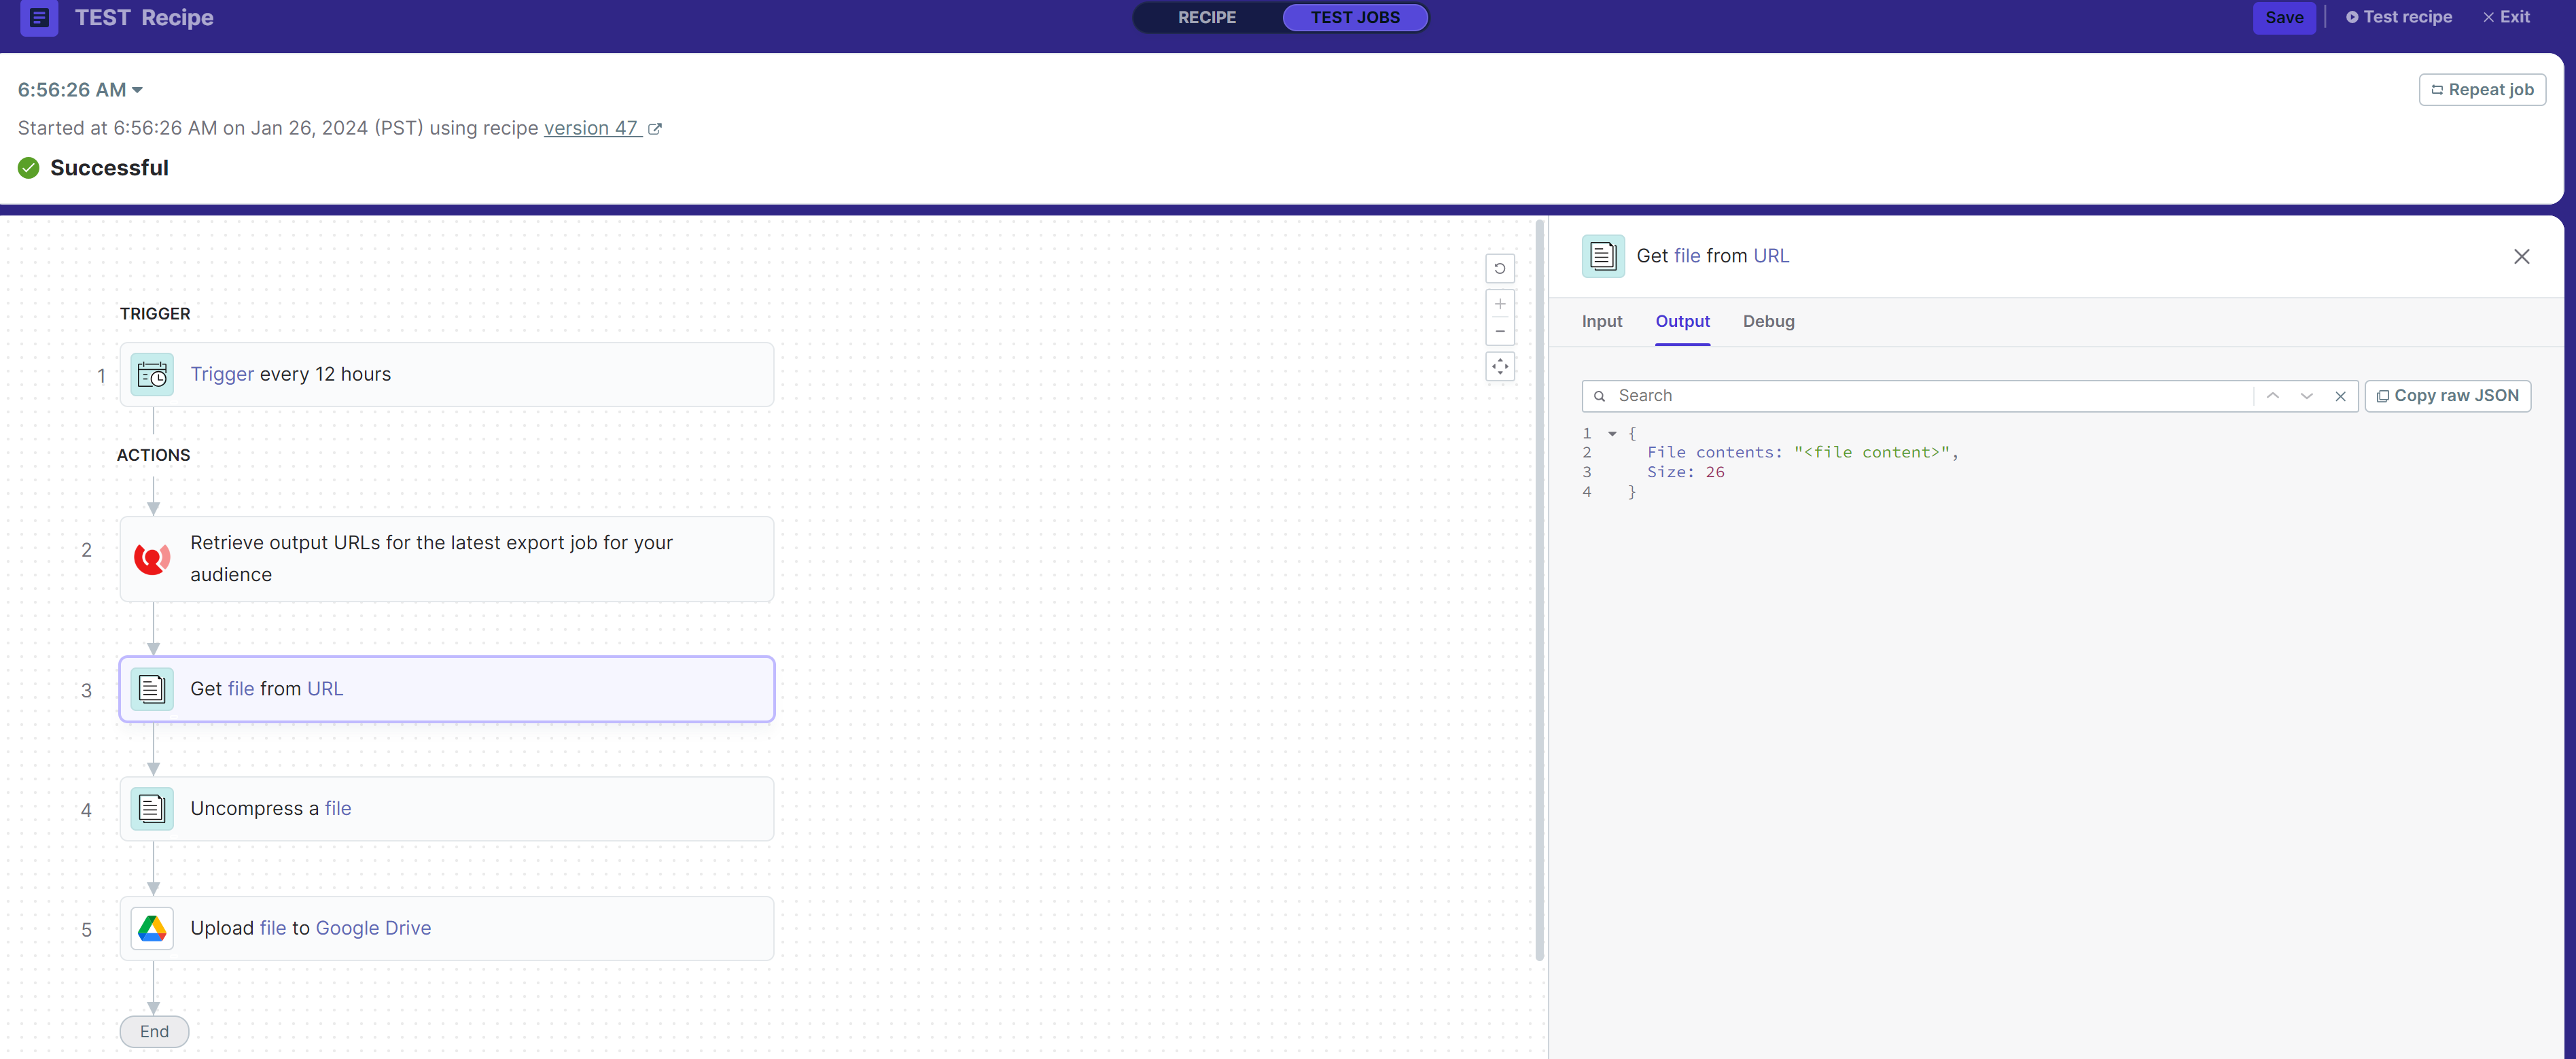
It will show you a successful message for the running job, and the file will be uploaded to drive, also you can view the output for each step that you have in the recipe.
That is all for today 🙂
I hope you find this post helpful, If you have any additional knowledge on this subject, comments or questions, please let me know in the comments section below.
